Install or Update OPL
OPL is typically already installed on a pre-made FMCB memory card as OPL, OpenPS2Loader, or similar names. However, if it is not yet installed, this guide will walk you through the process.
Updating OPL
These steps can also be used to update OPL. If your OPL elf files have the same name, you can simply overwrite the existing OPL elf. However, if your new OPL elf has a different file name (because of versioning), you can choose to install it in addition to the previous one or delete the other OPL elf after installing the new one.
Tip: Installing apps
These instructions can also be used to install other homebrew apps as well. You can find other apps to install on PSX Place or Internet Archive.
Credits
- This guide transcribes How To Install OPL v0.9.4 Onto Any PS2! (Open PS2 Loader) 2018!
Requirements
- FMCB memory card
- USB storage device
Instructions
Load OPL elf file onto USB
-
Go to the OPL Github page and select the version you want to use.
-
The most recent stable release will be given a version name such as v1.1.0 and will be labeled
Latest. This will provide the best stability, but may not have improvements made in beta releases. -
The beta release will be named "latest" (with the
Pre-releasetag) and will have any ongoing improvements but may have less stability.
-
-
On the version page you want to use, scroll down to the Assets heading and download
OPNPS2LD.7z.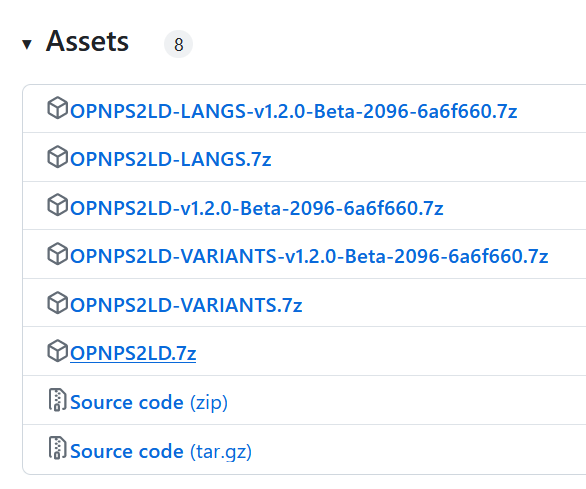
-
Unzip the file. Insert your USB drive into your PC and copy
OPNPS2LD.ELForOPNPS2LD-[version number].ELF(depending on which version you are using) to it.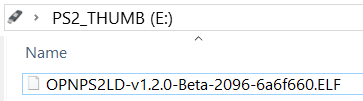
-
Eject the USB storage device from your PC.
Copy the OPL elf onto FMCB card
-
Insert both your the USB storage device with the OPL elf and FMCB memory card into the PS2 and boot it up.
-
From the home screen launch
uLaunchELF.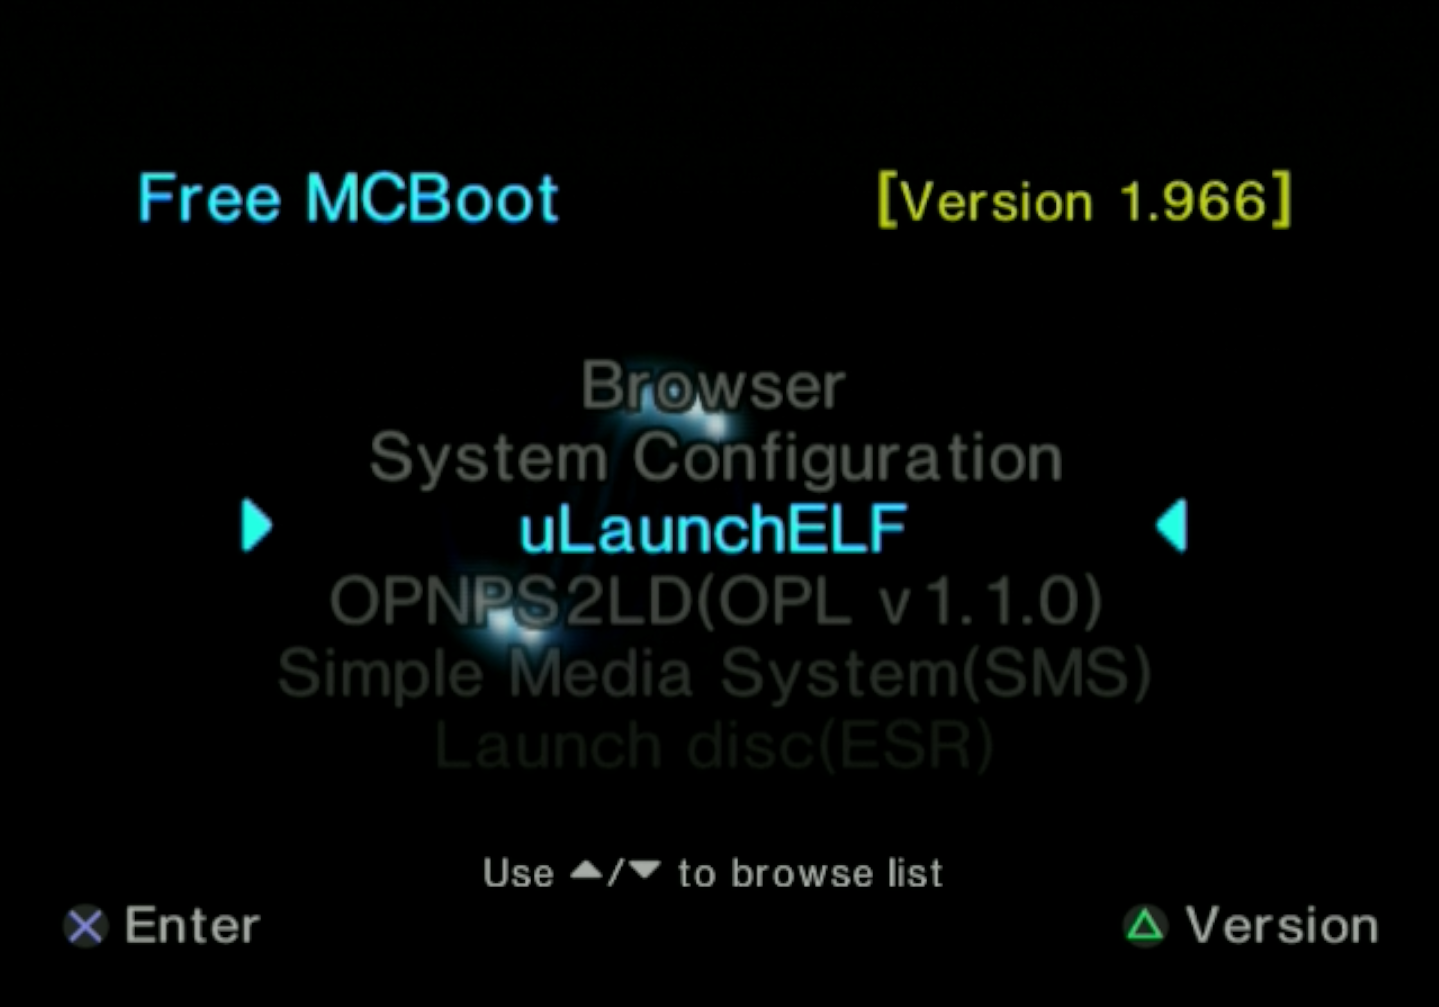
-
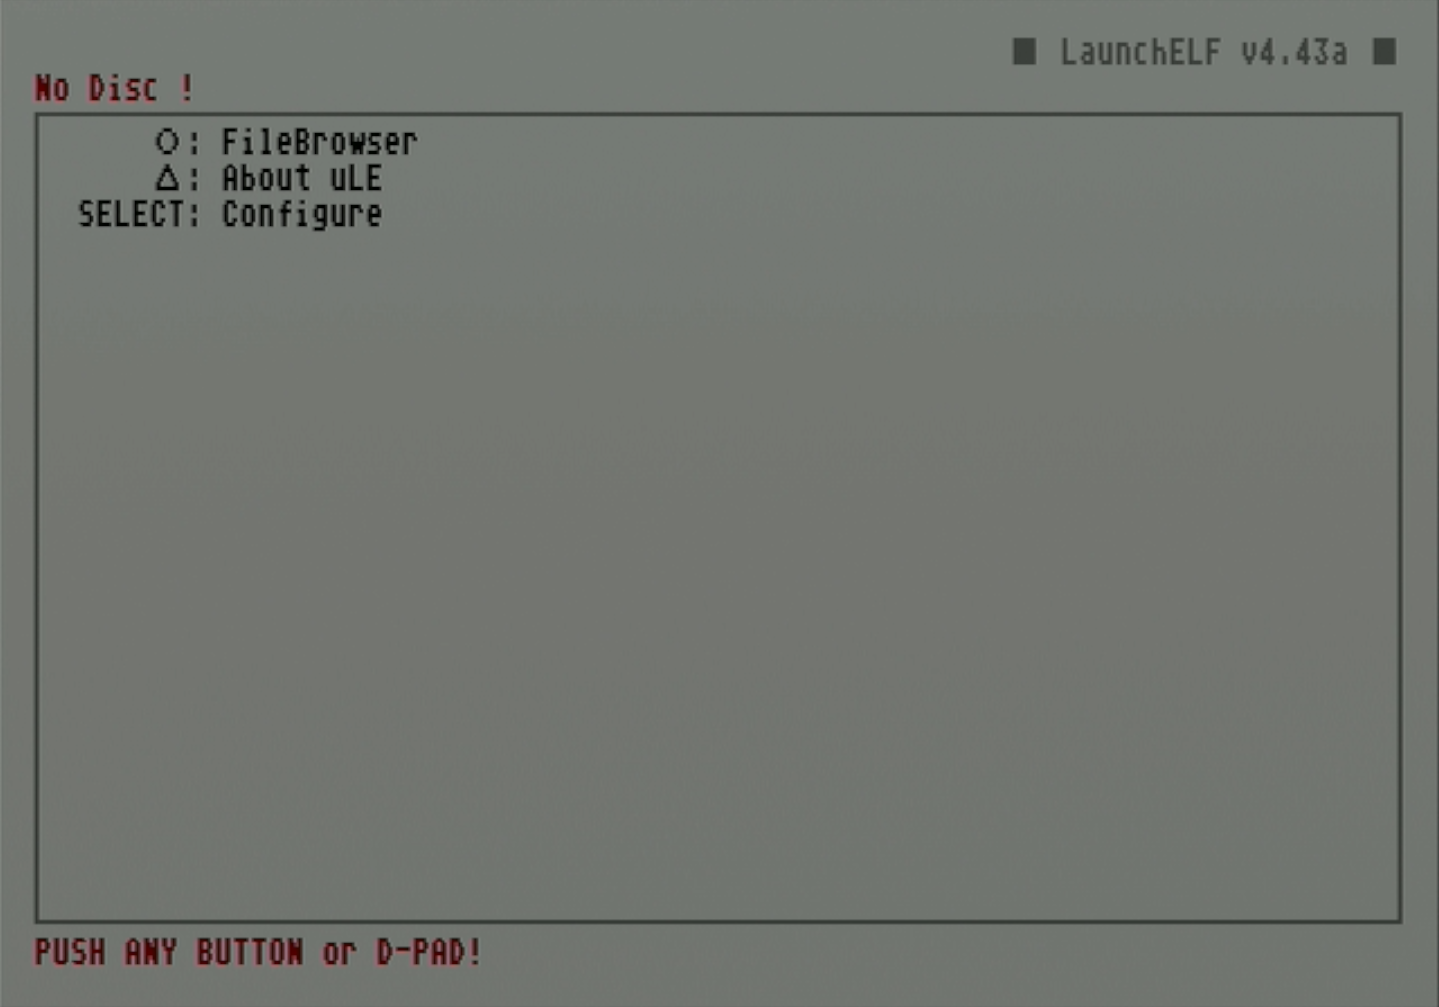
Press circle to enter the file browser.
-
Scroll down and select
mass:/.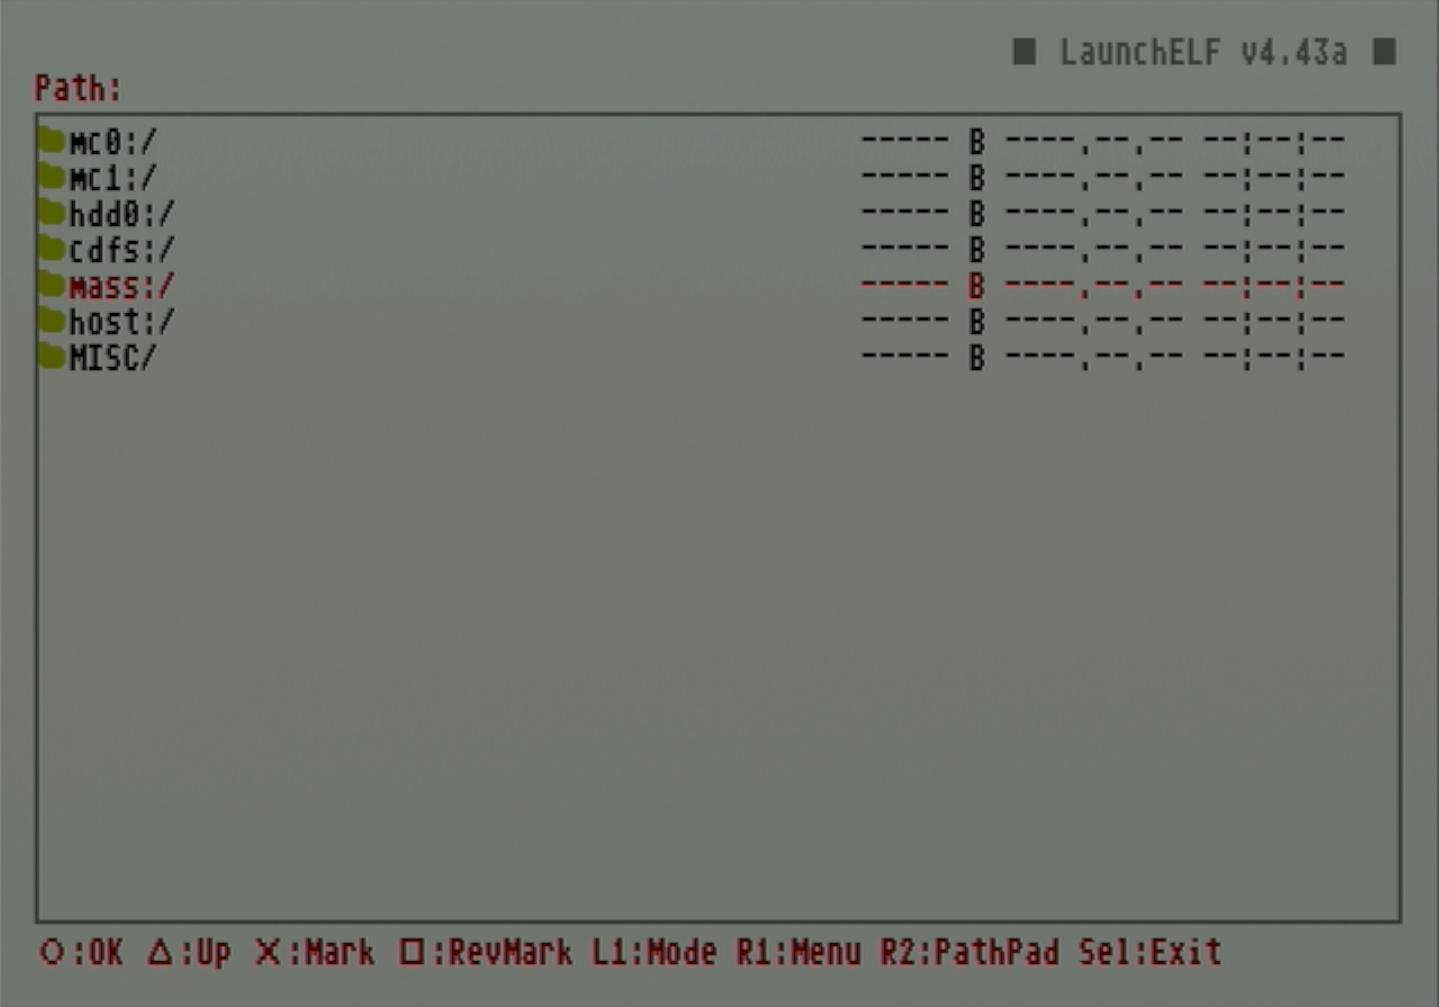
-
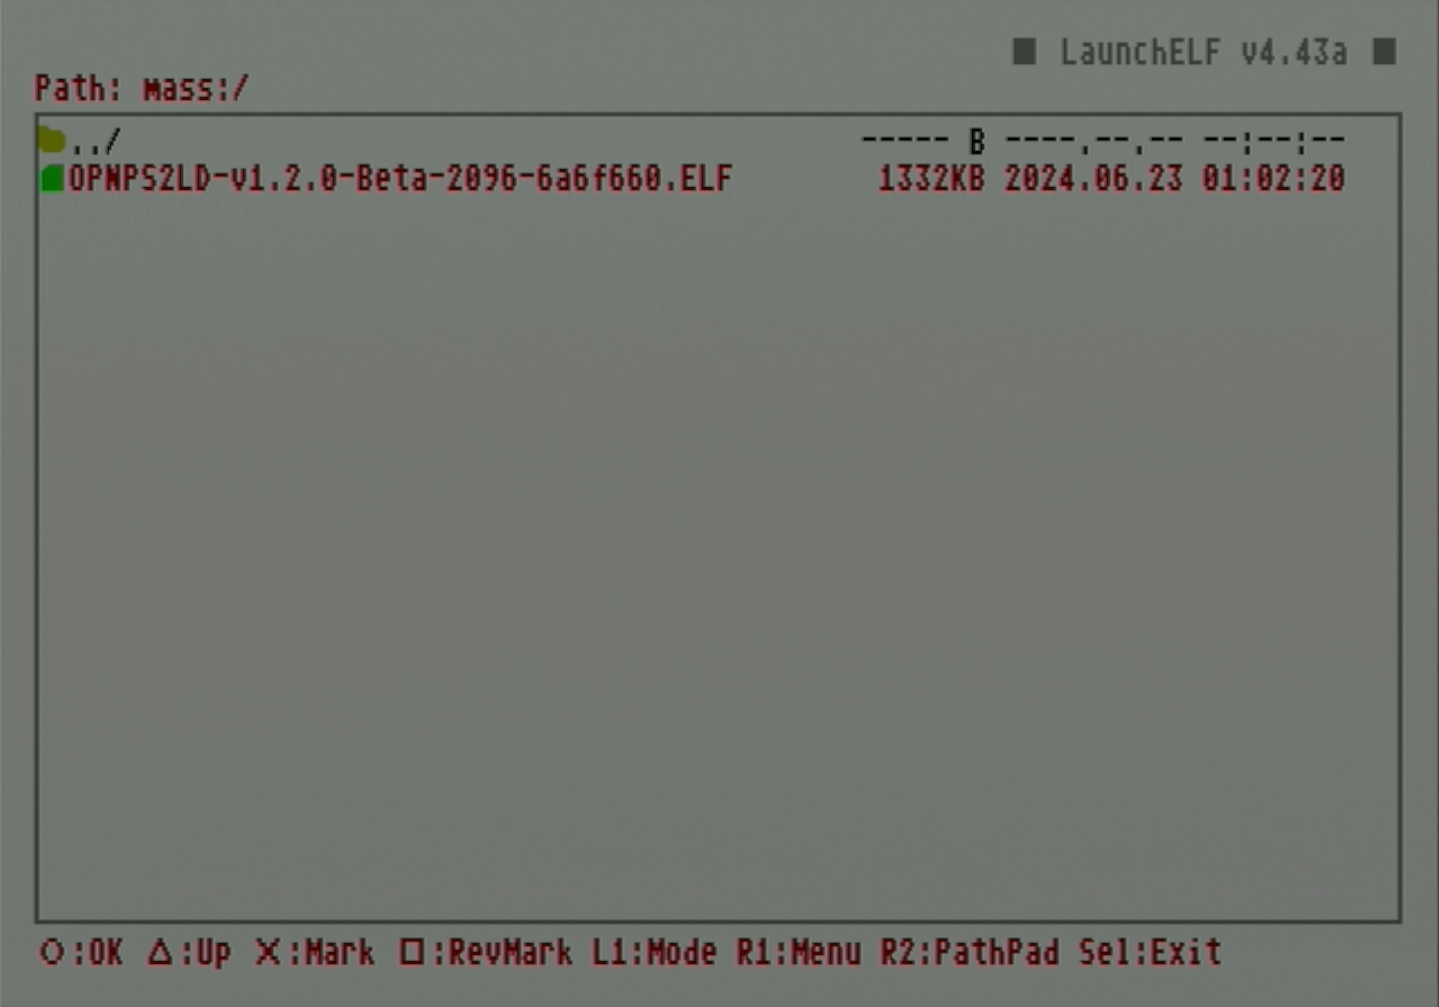
Find the OPL elf file on your USB storage device and highlight it. Press R1 to open the menu.
-
Press circle to select
Copy.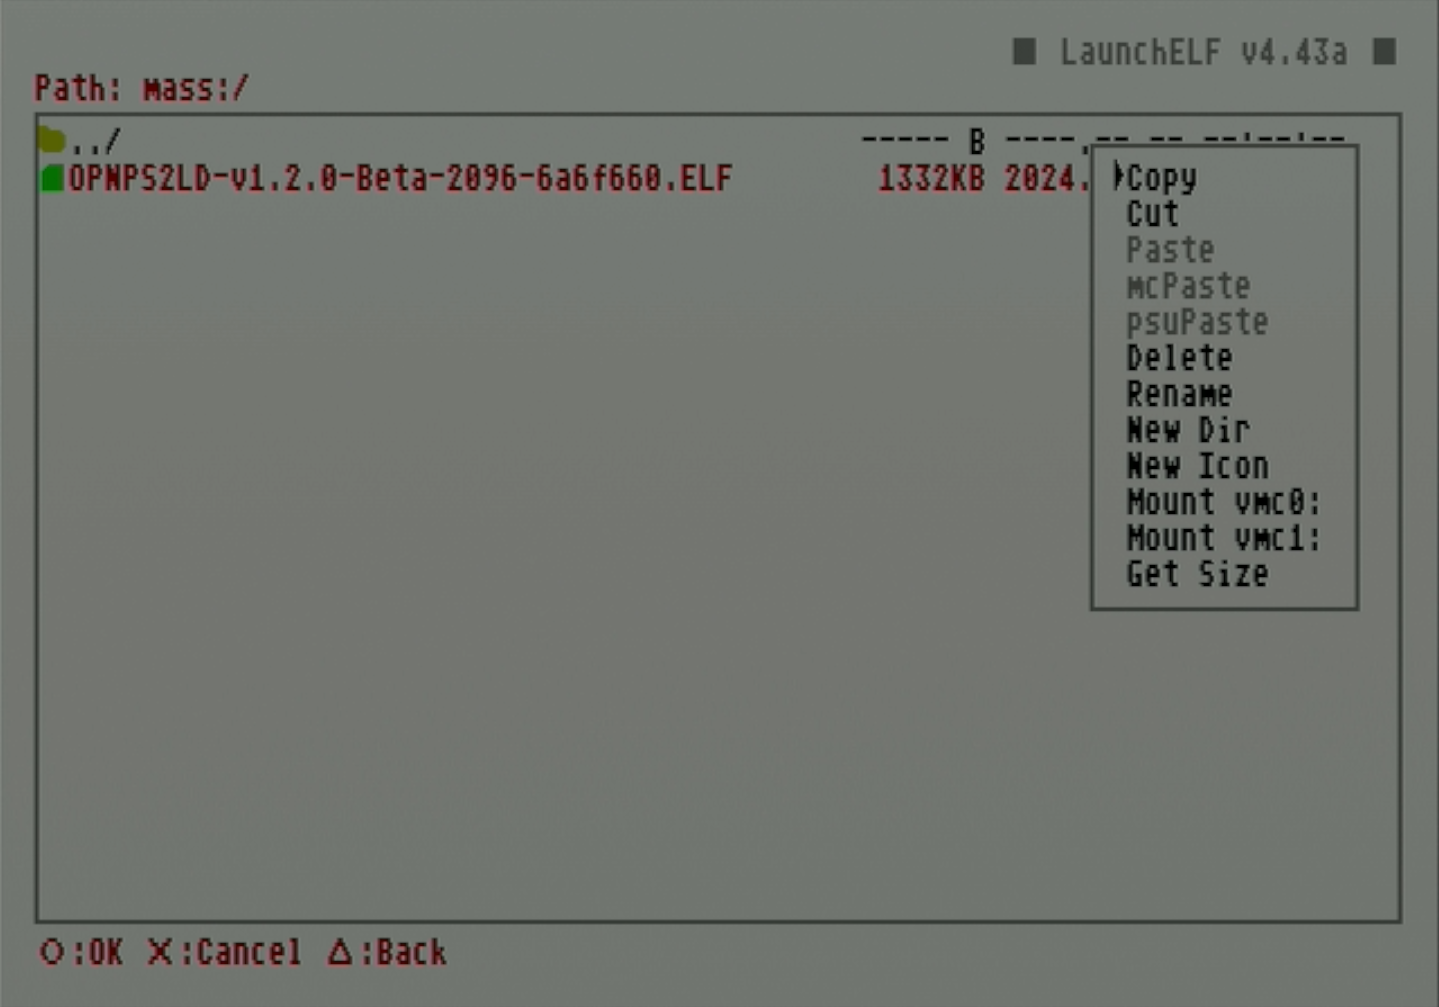
-
It will confirm by showing red status text in the upper left corner reading
Copied to the Clipboard.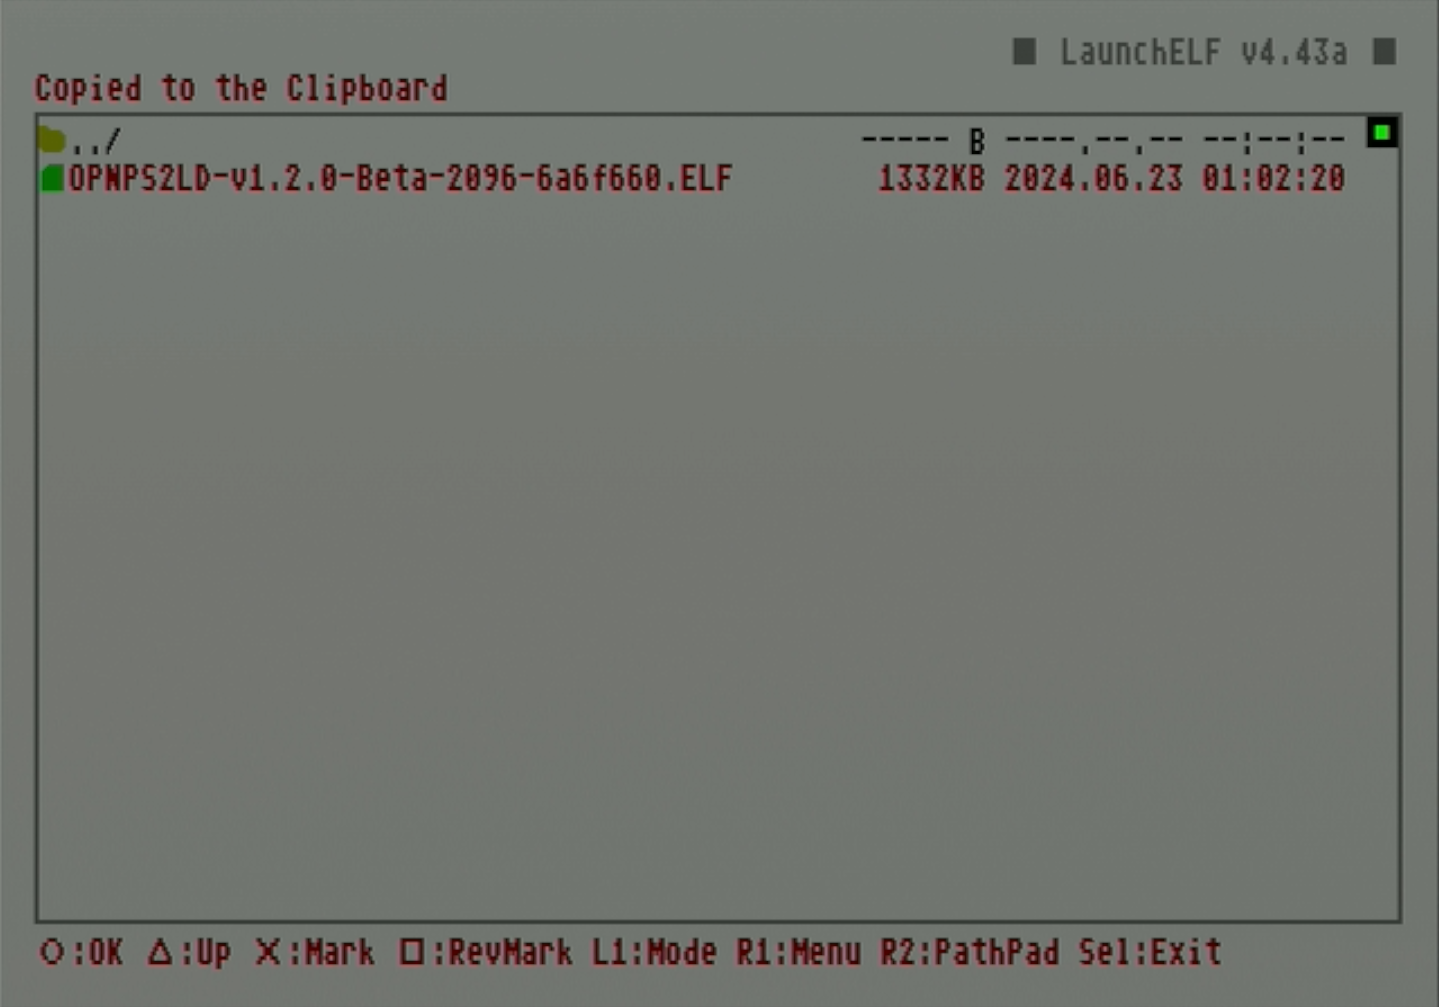
-
Press triangle to return through directories until you are at the top level again. From here, select
mc0:/if your FMCB card is inserted in the first slot, ormc1:/if it is in the second.
-
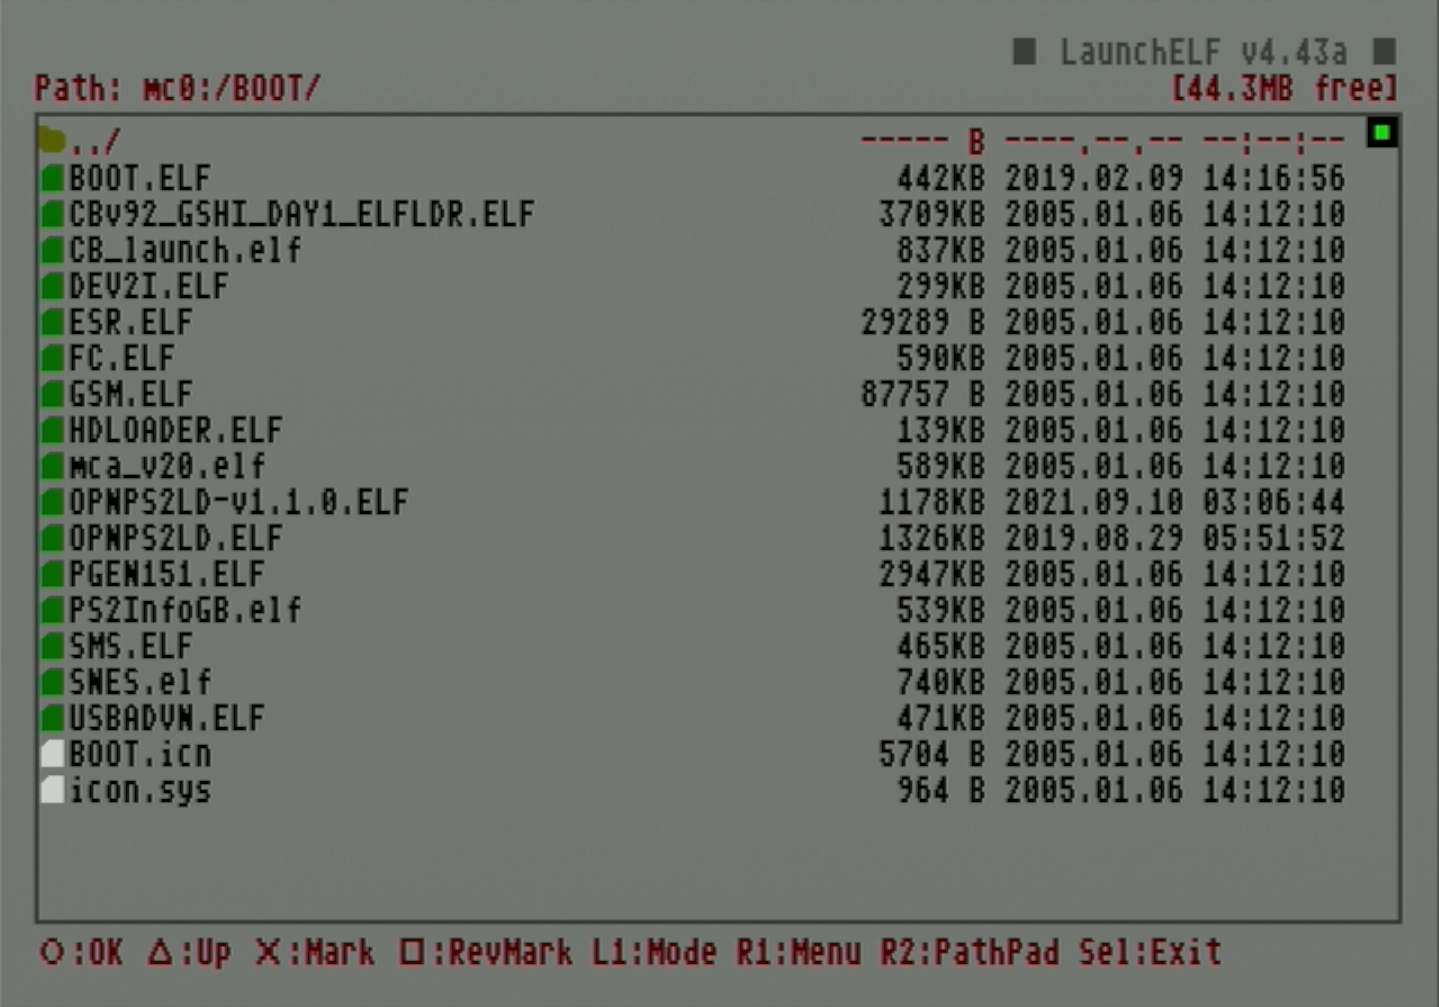
Scroll down and select the
BOOT/folder.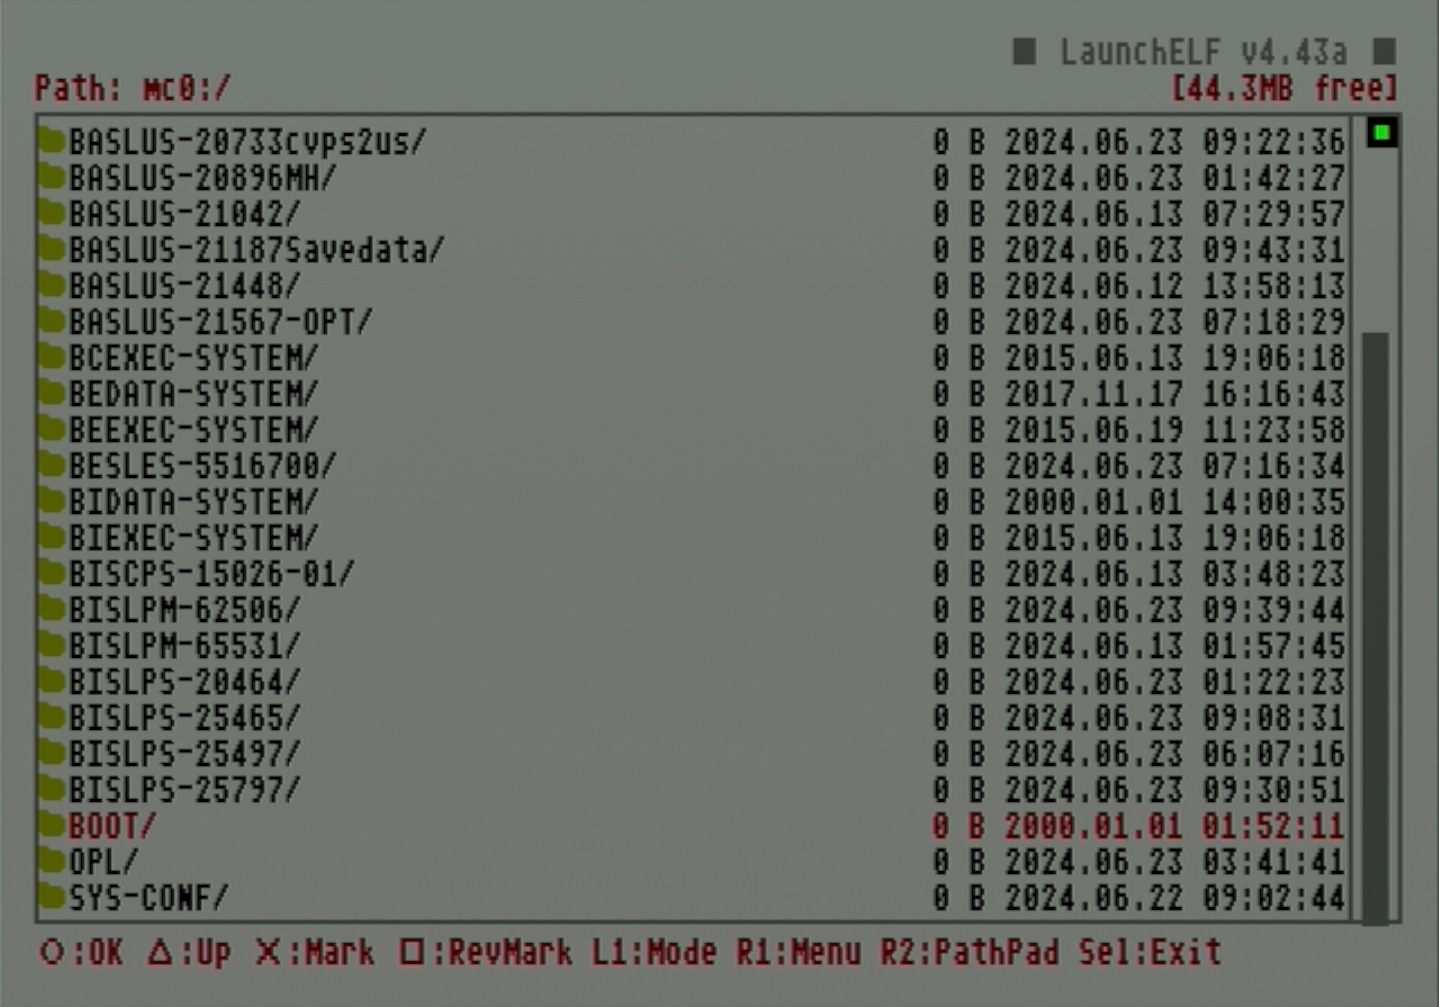
-
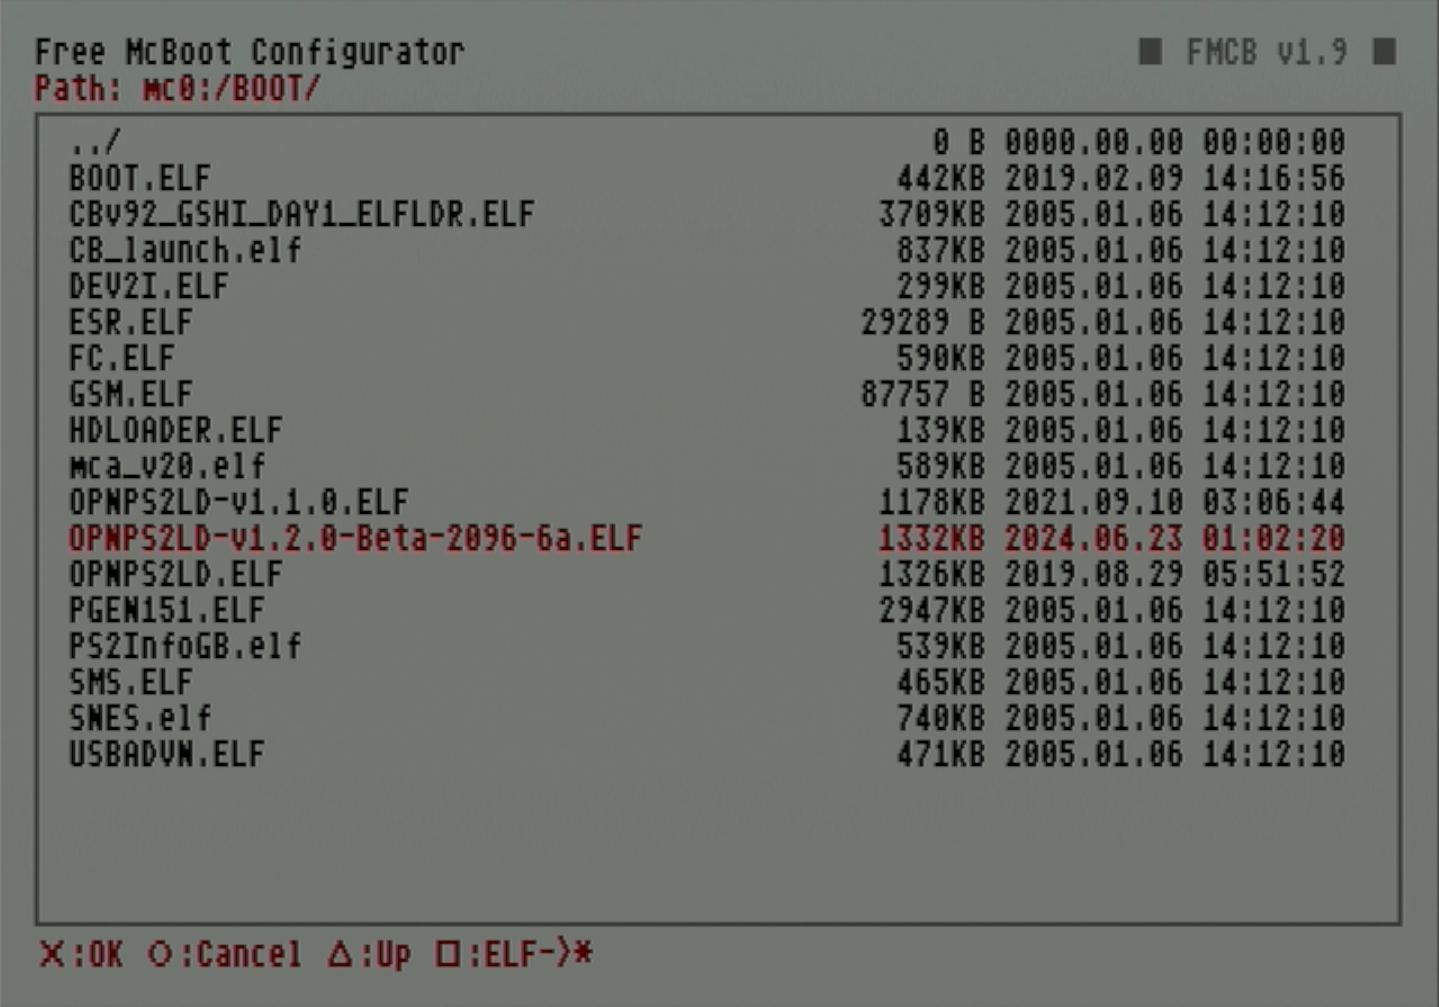
In this folder, press R1 to pull up the menu.
-
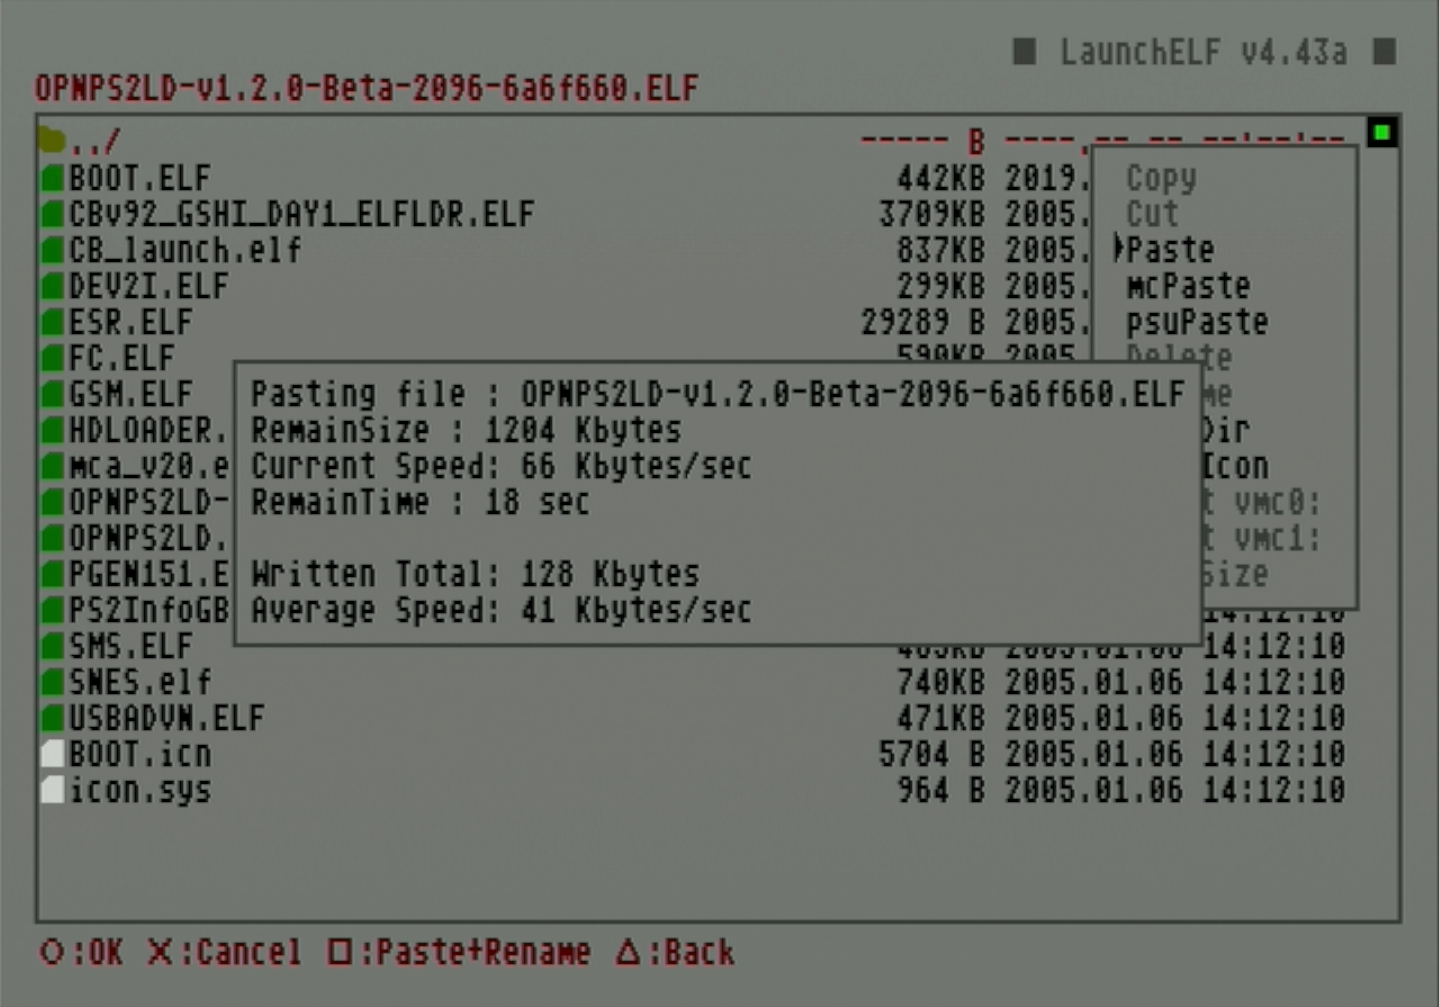
Press circle to select
Paste.- If you are updating OPL, you may be prompted to override an existing OPL elf. In the dialog window, confirm that you would like to overwrite the previous OPL elf.

-
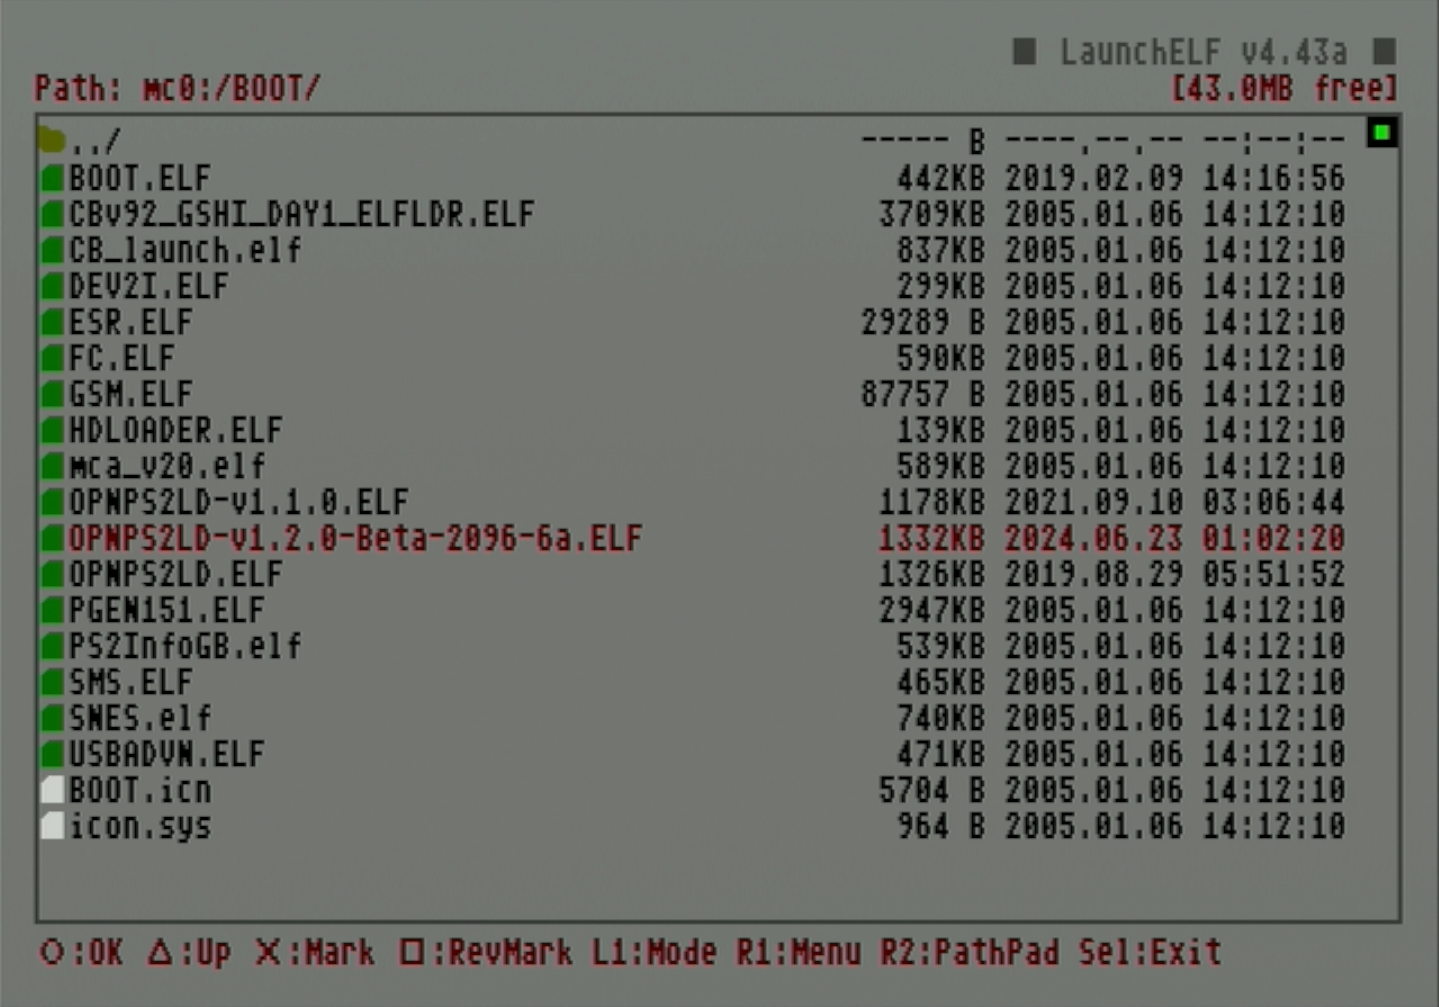
A dialog will pop up showing the file copying progress.
-
When complete, your OPL elf will display in the list.
Add OPL to the home menu
-
Restart your PS2.
-
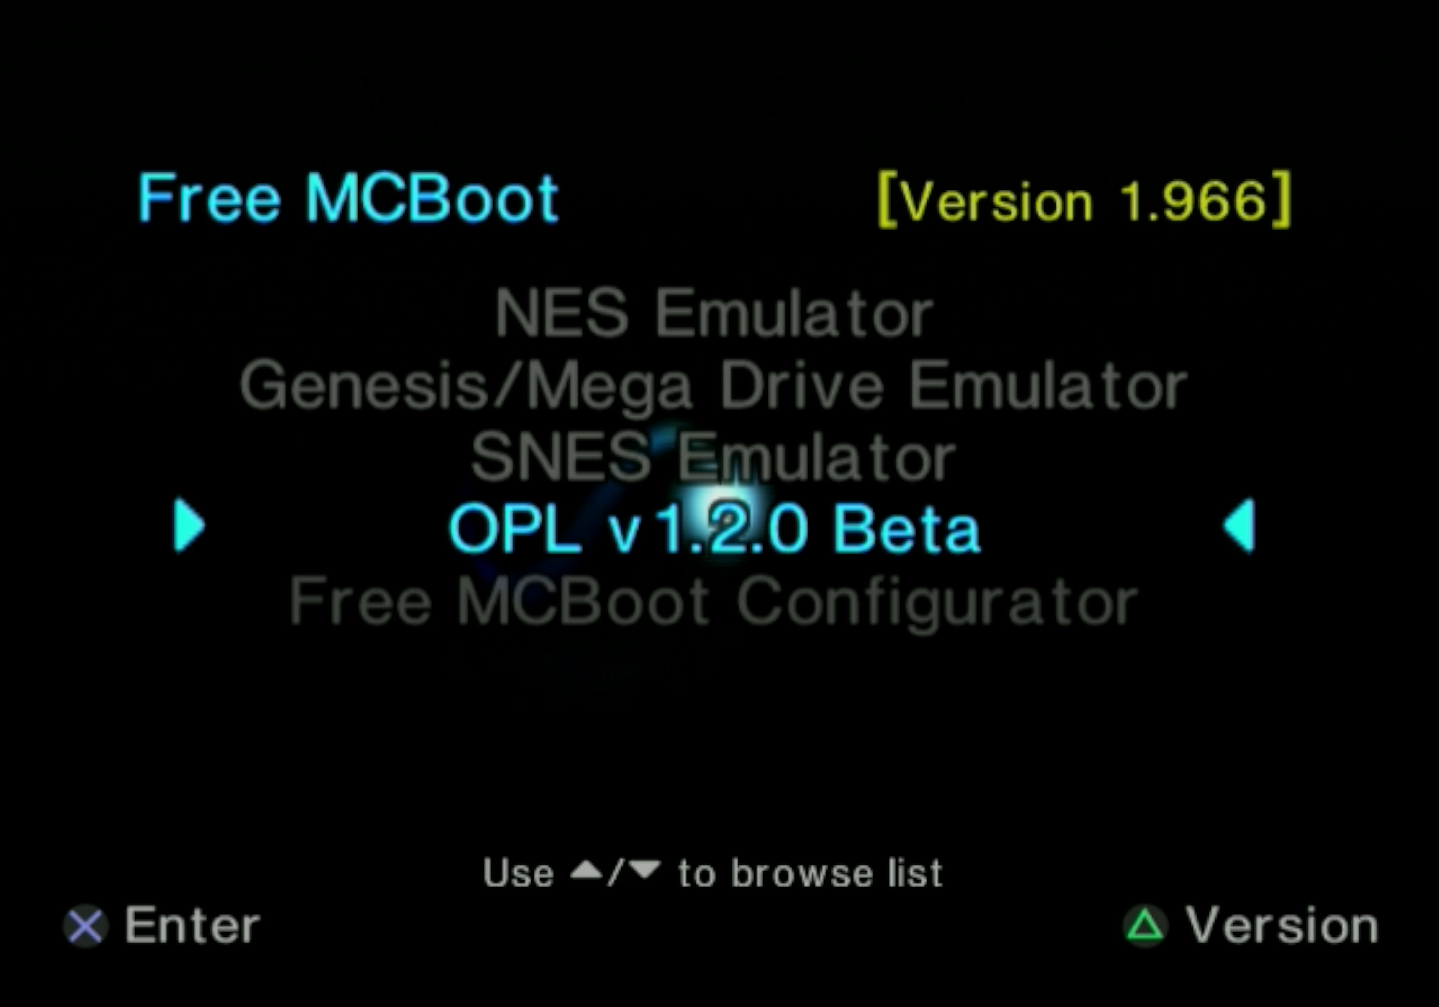
Select
Free McBoot Configuratorfrom the home screen.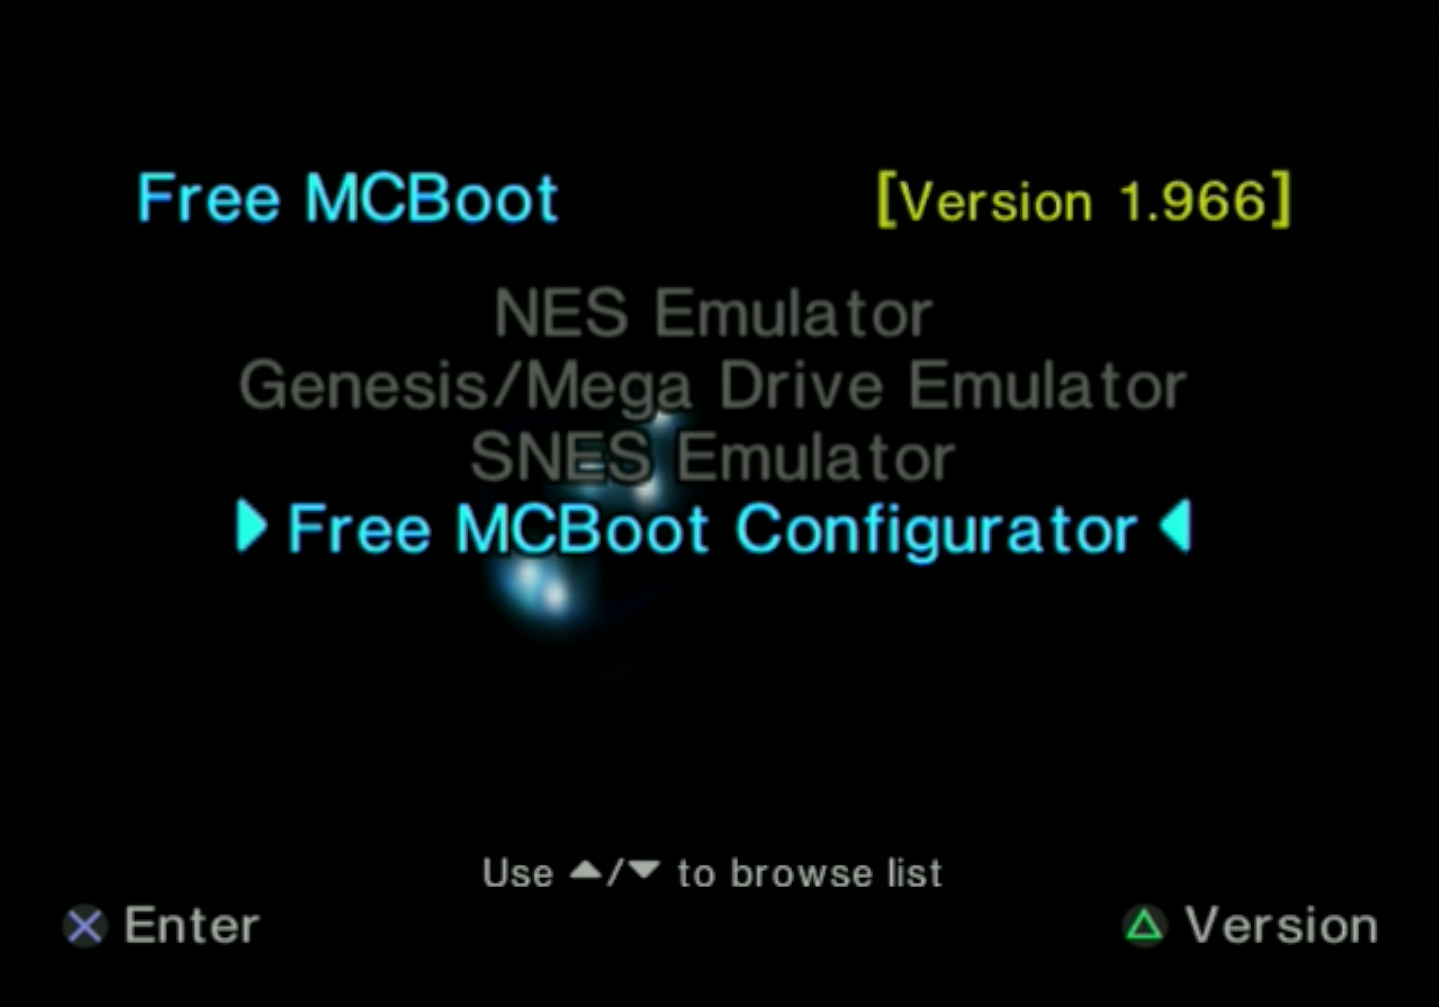
-
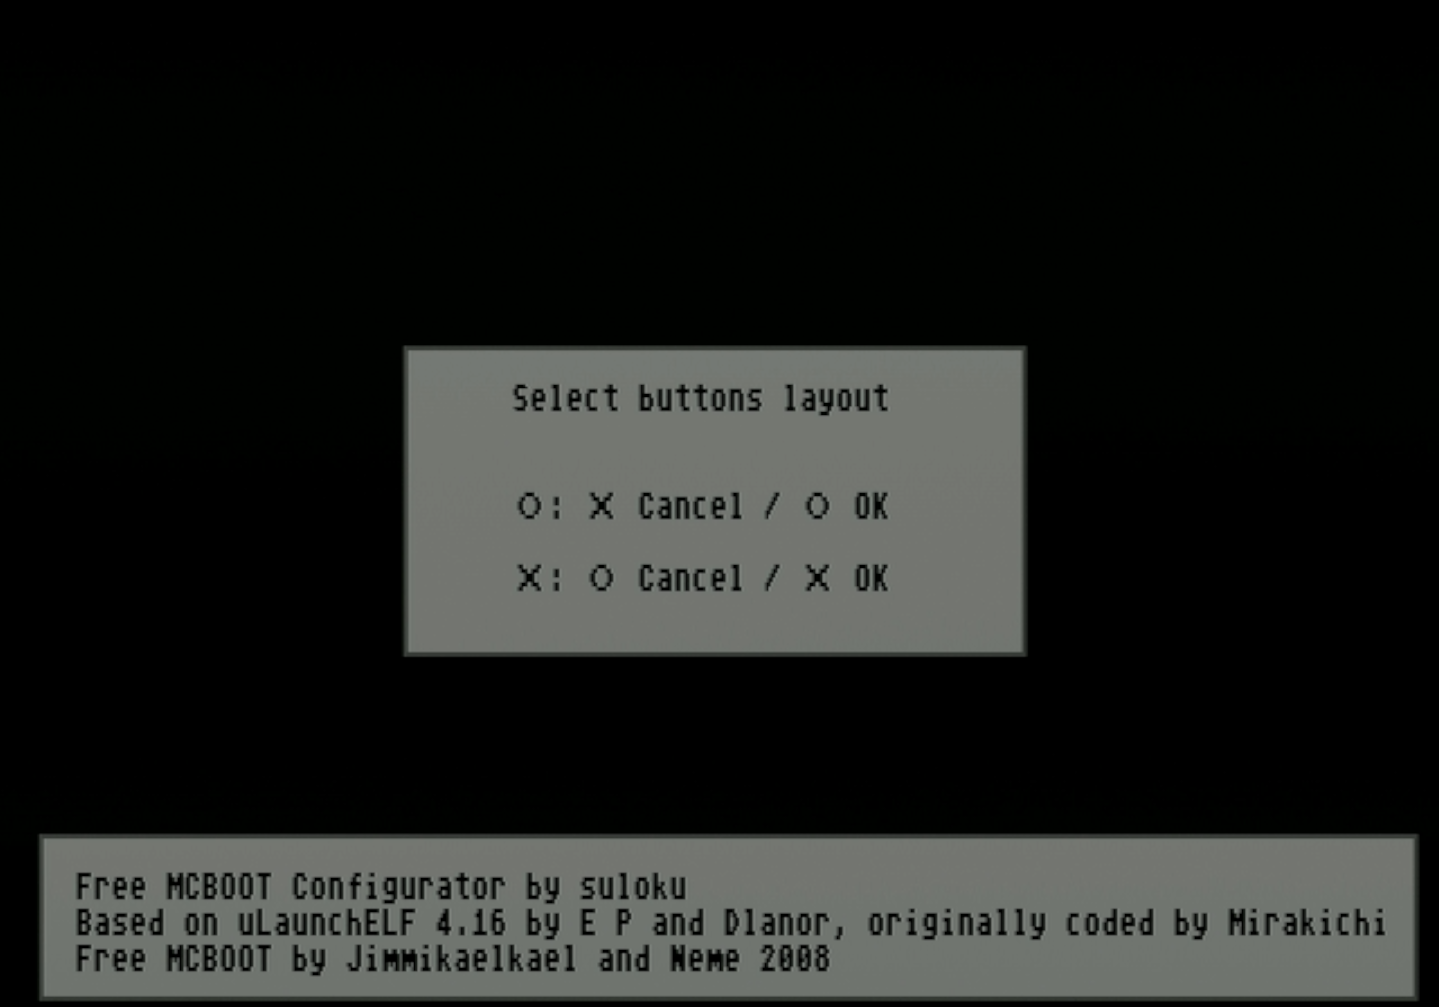
Select your preferred button layout.
-
In the next menu, scroll down to select
Configure OSDYS options...
-
Tap one down to highlight
Configure Item 1:. This will highlight the first home menu item.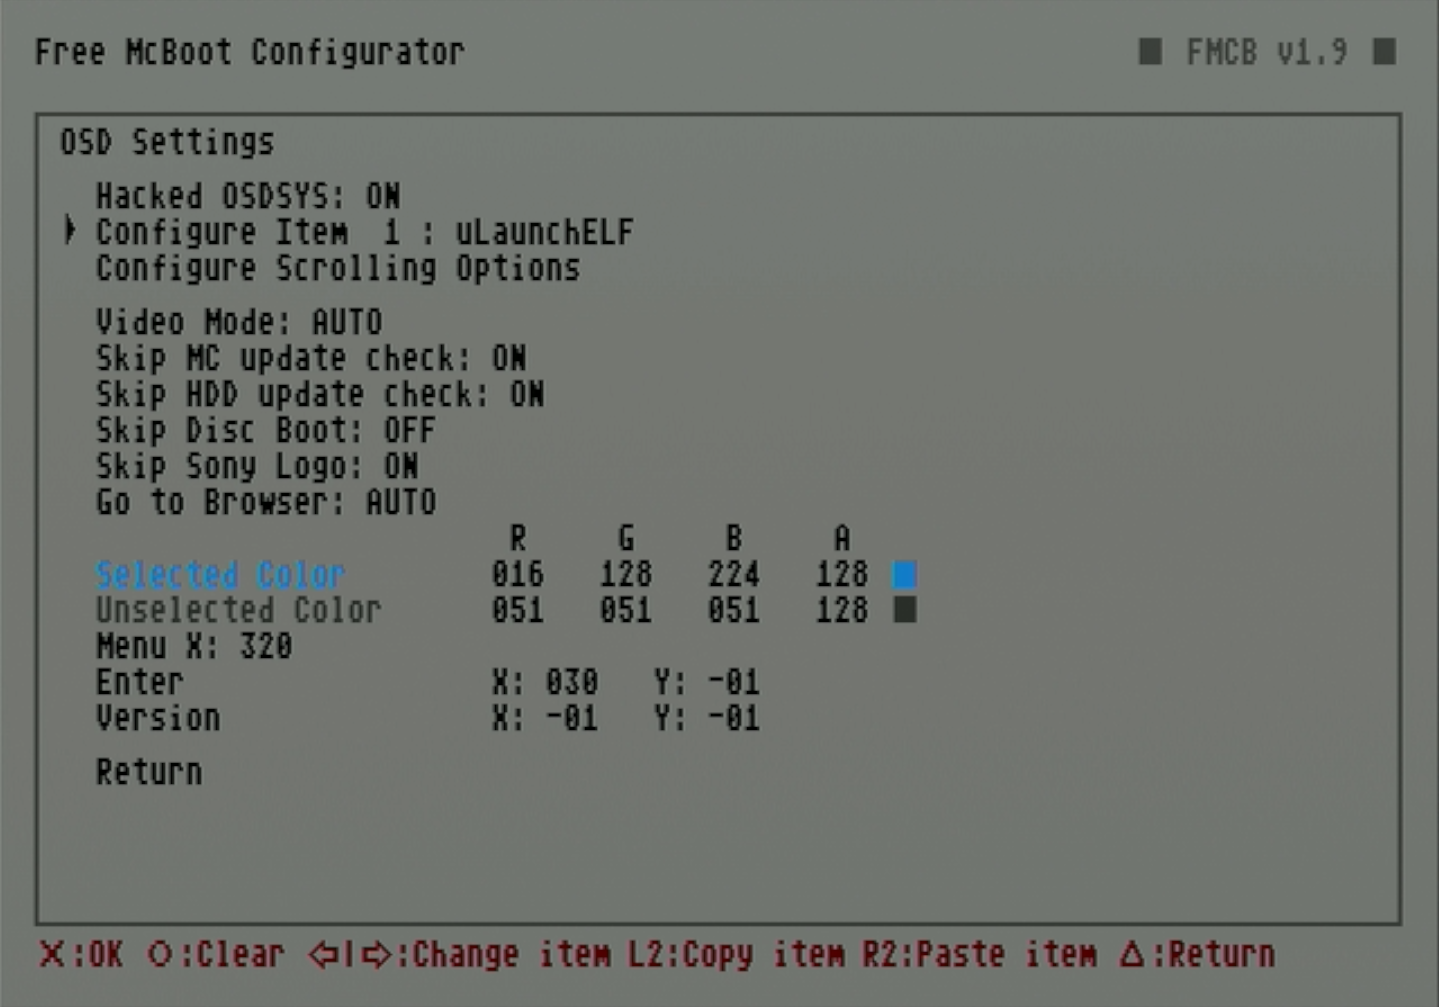
-
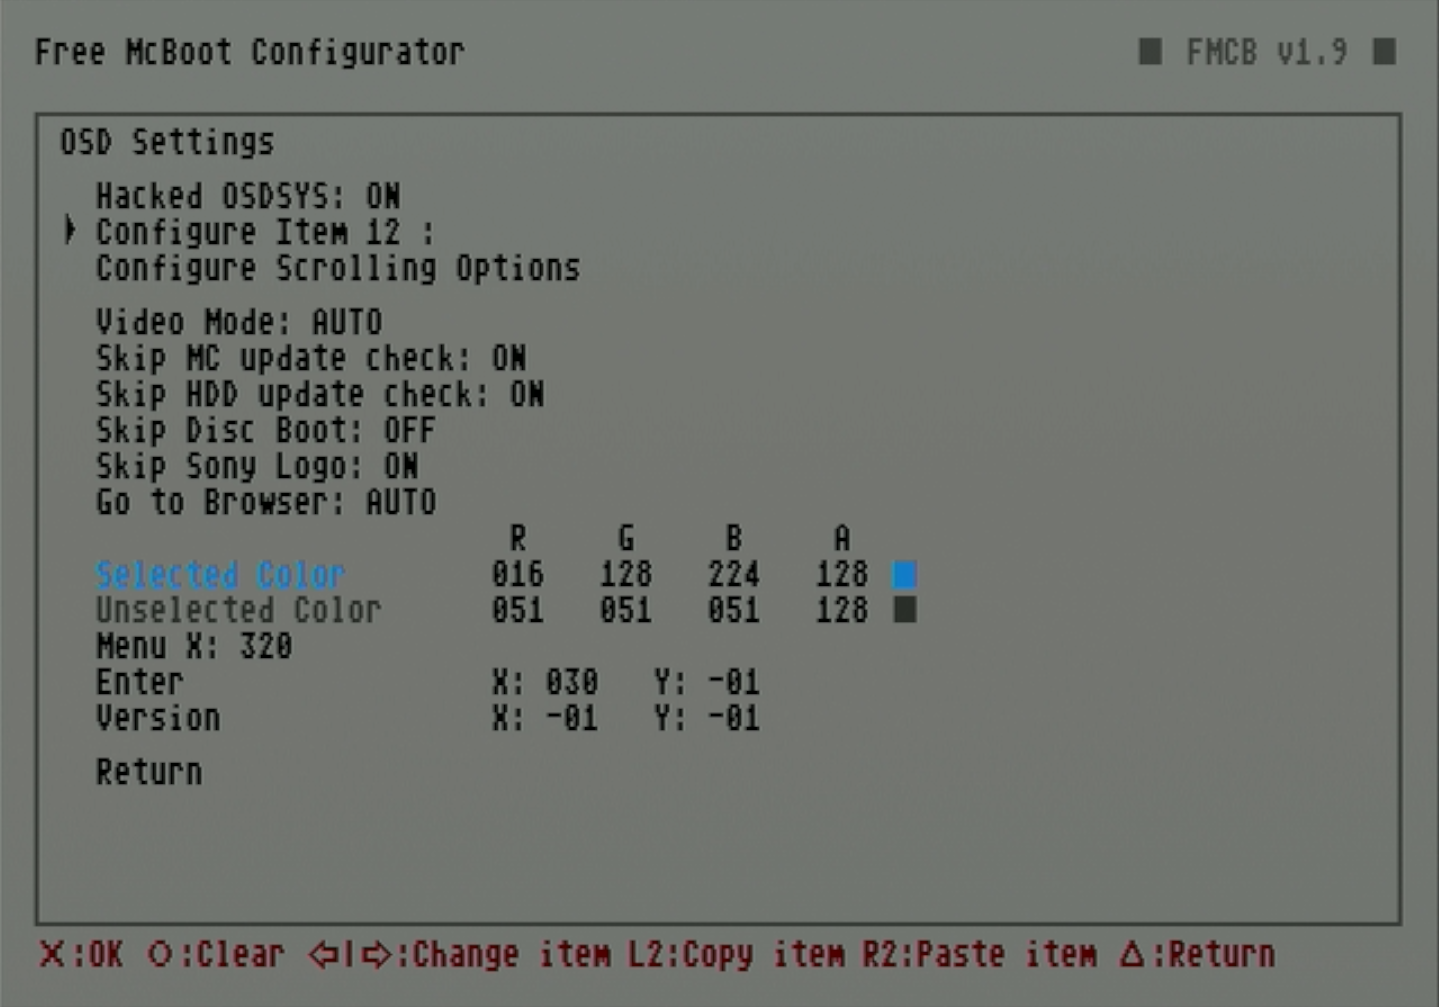
Pressing left and right on the d-pad will scroll through the home menu options. Continue pressing right until the item field is empty and select it. This is where we will install OPL.
-
On the edit entry screen, select
Name:.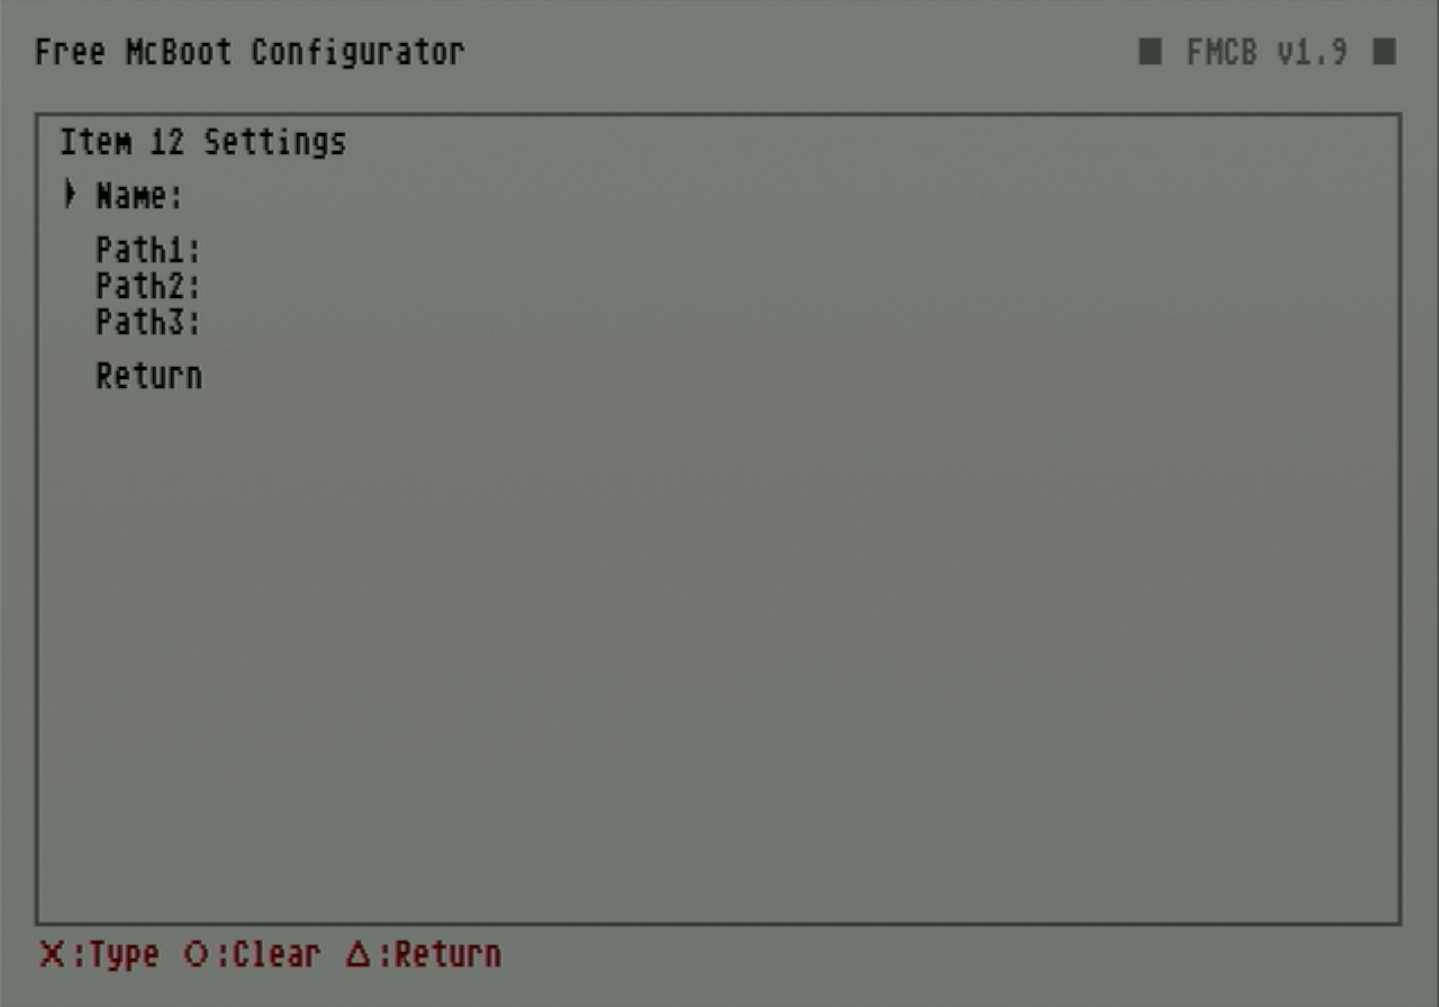
-
Enter a descriptive name such as
OPL,OpenPS2Loader, orOPL [version]. HitOK.
-
Tab down one entry and select
Path1:.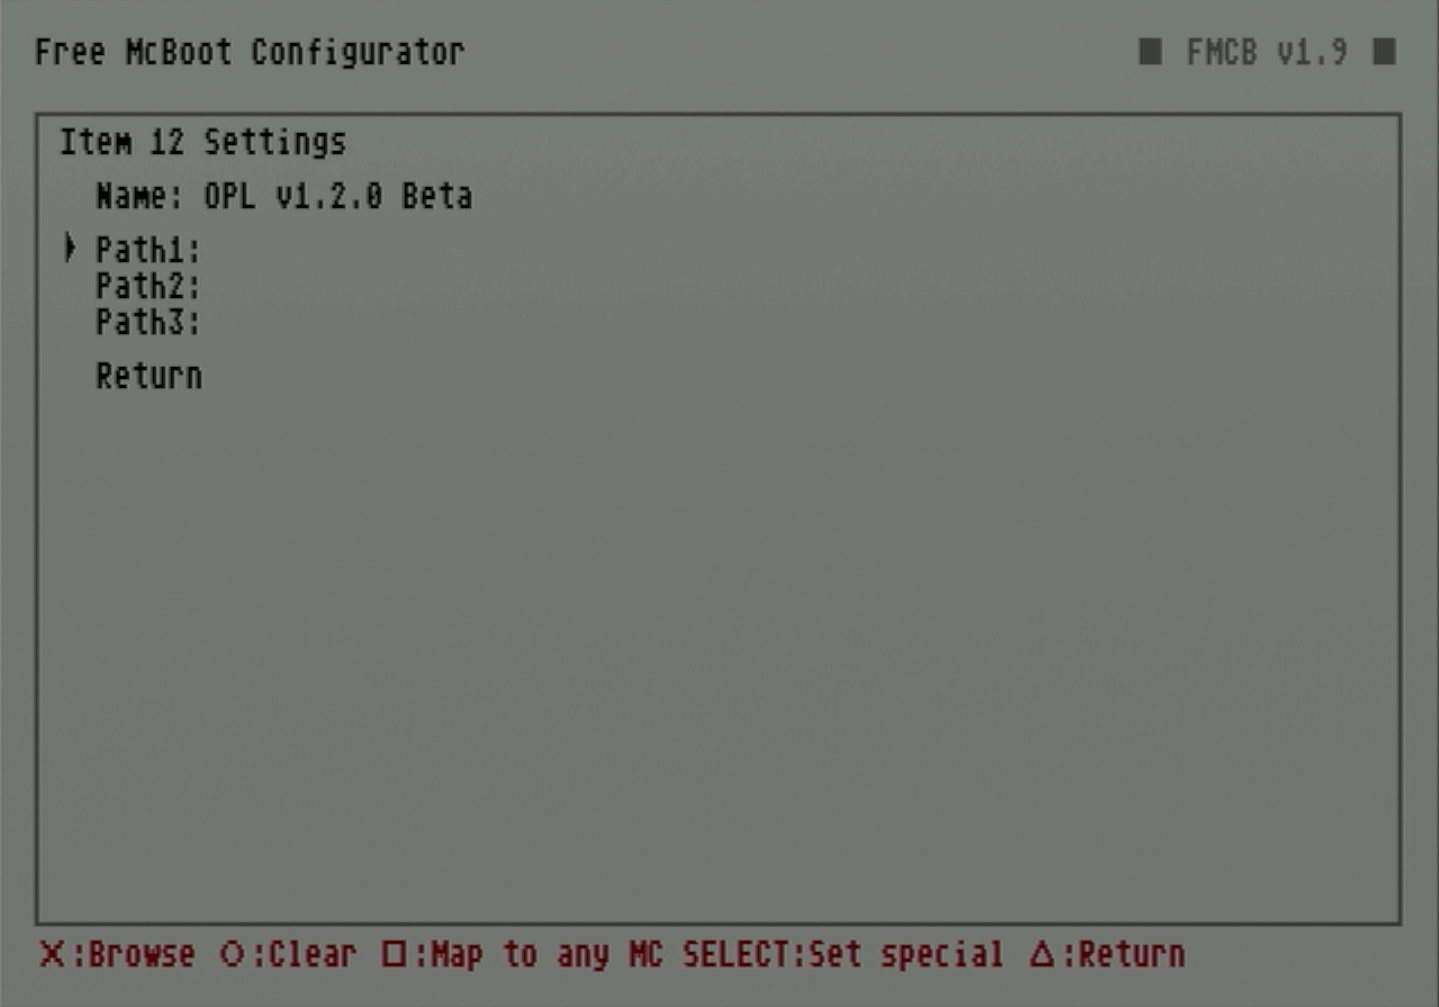
-
From here, we will find the newly pasted OPL elf on our FMCB memory card. Select the memory card you are using,
mc0:/if first slot ormc1:/if second.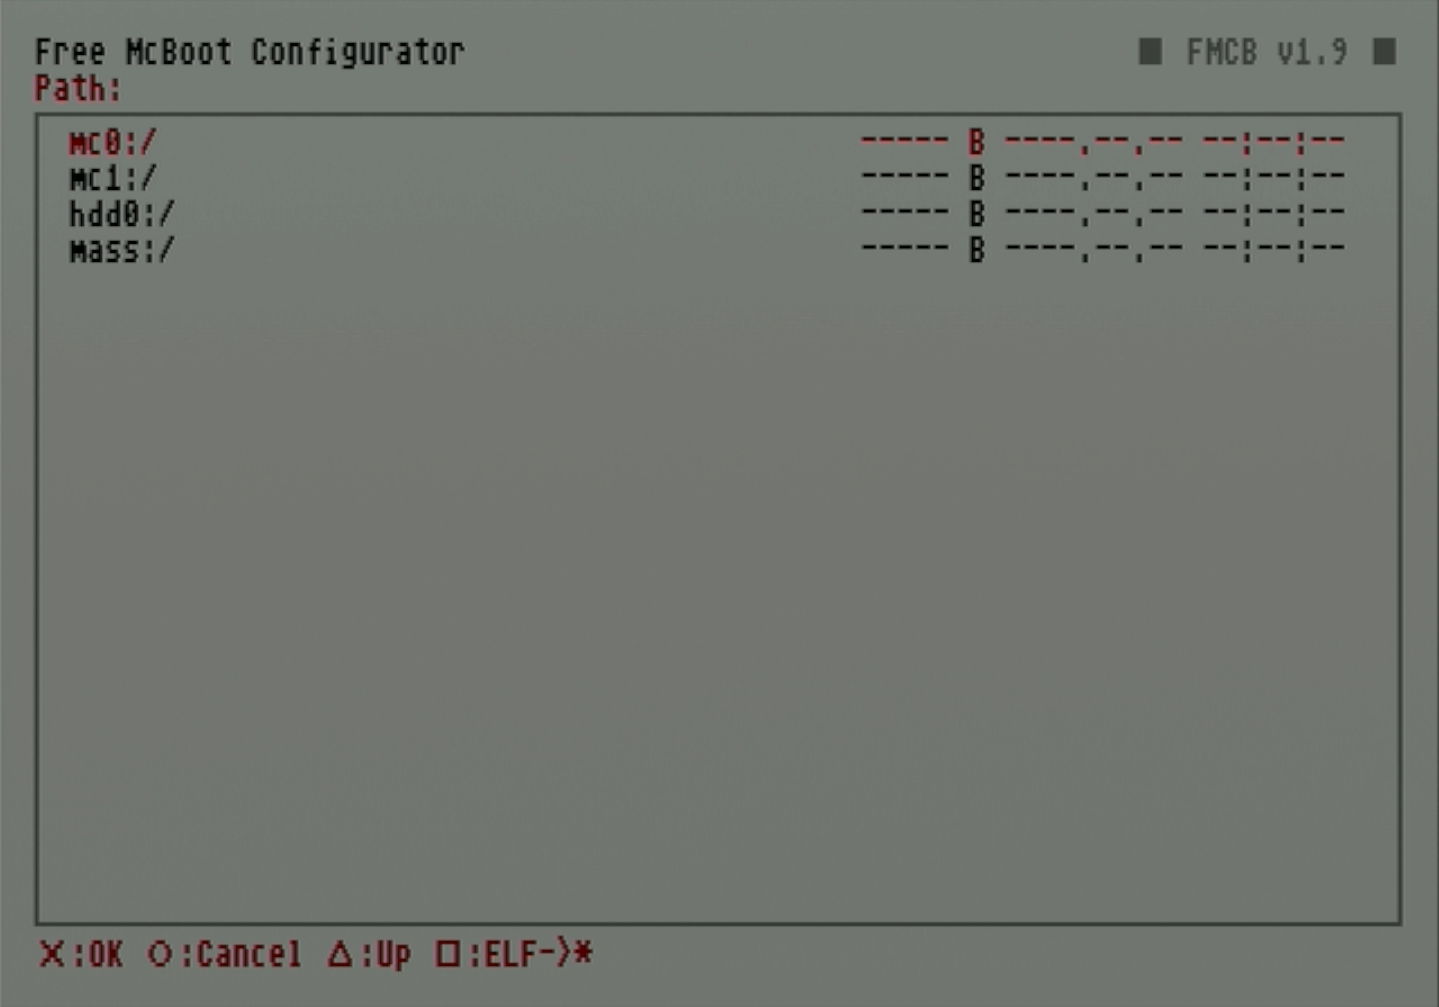
-
Scroll down to
BOOT/and select it.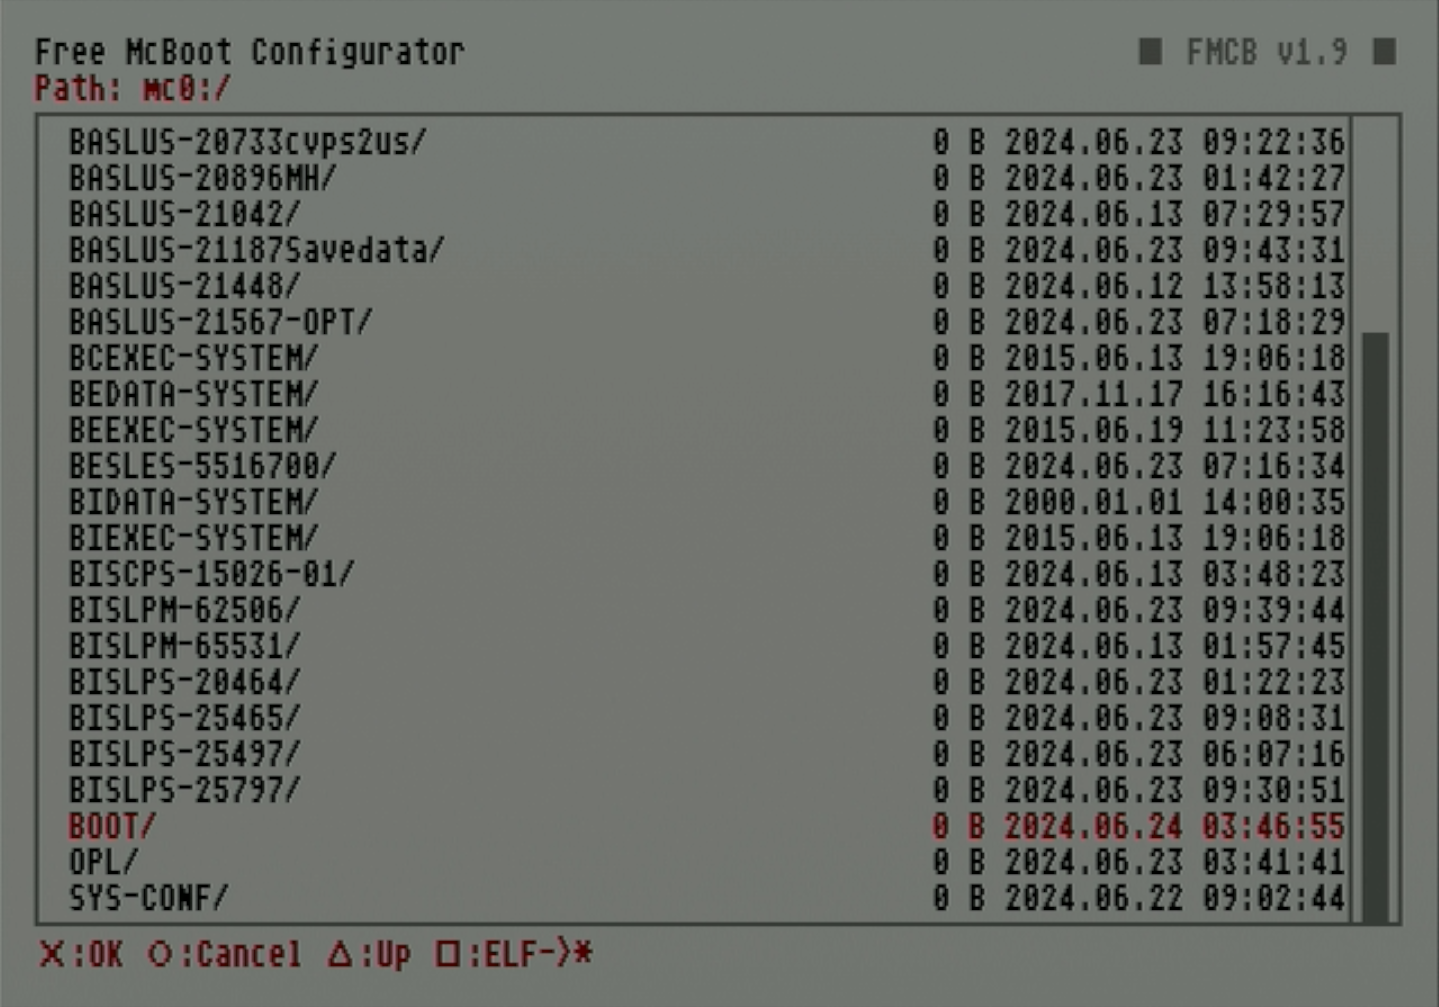
-
Scroll down to the OPL elf and select it.
-
The elf path will now populate the
Path1field. Scroll down and selectReturn.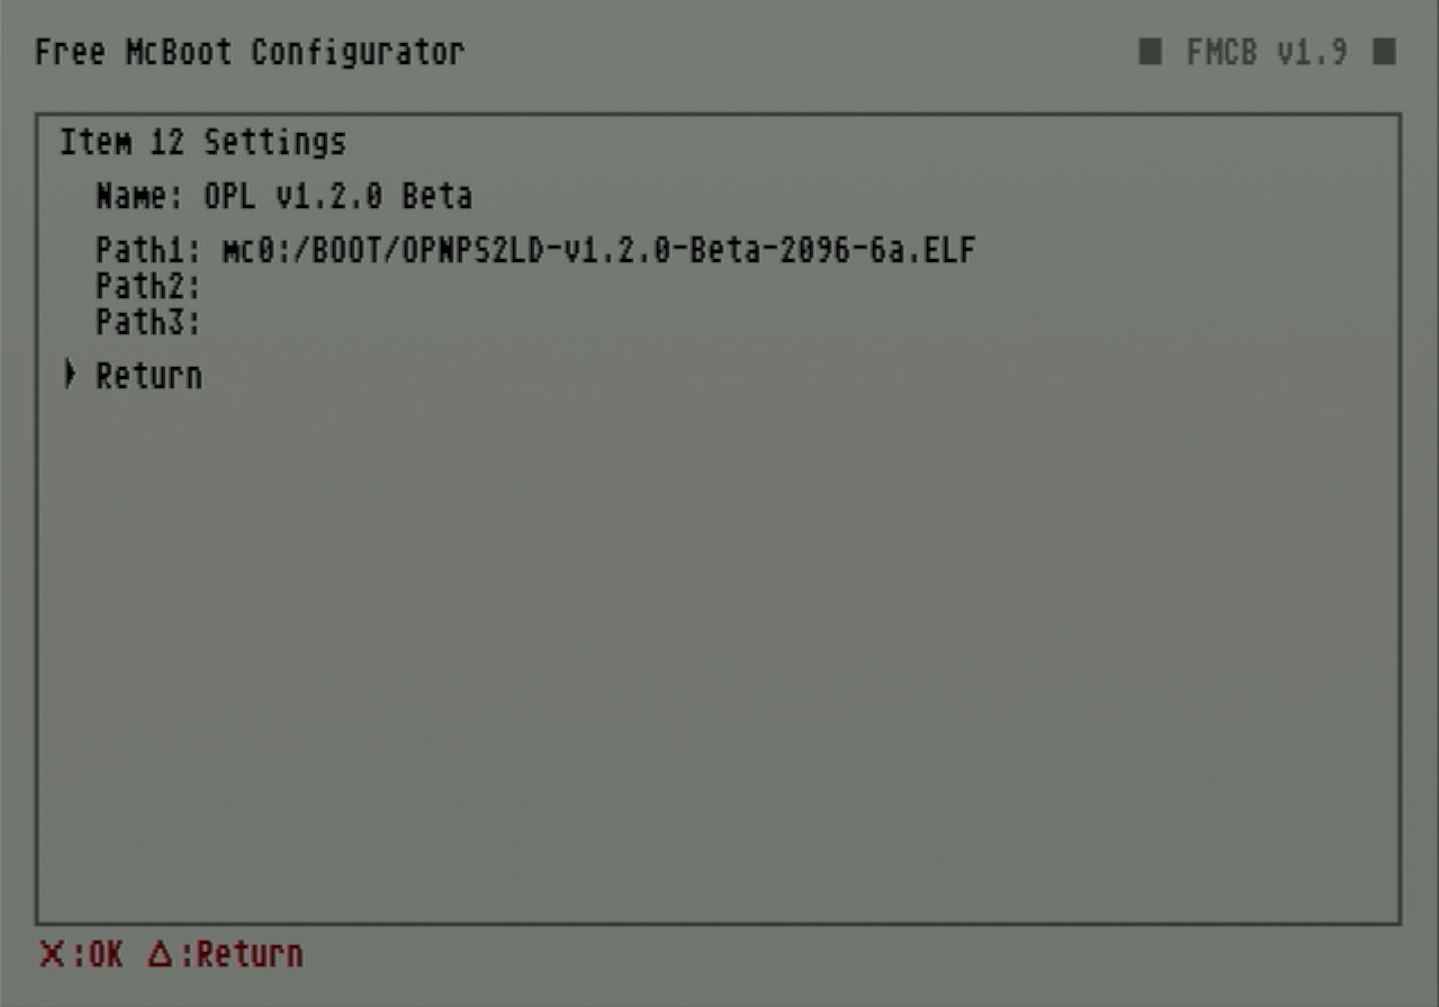
-
The home menu entry will now populate the OPL name you entered. Scroll down and select
Return.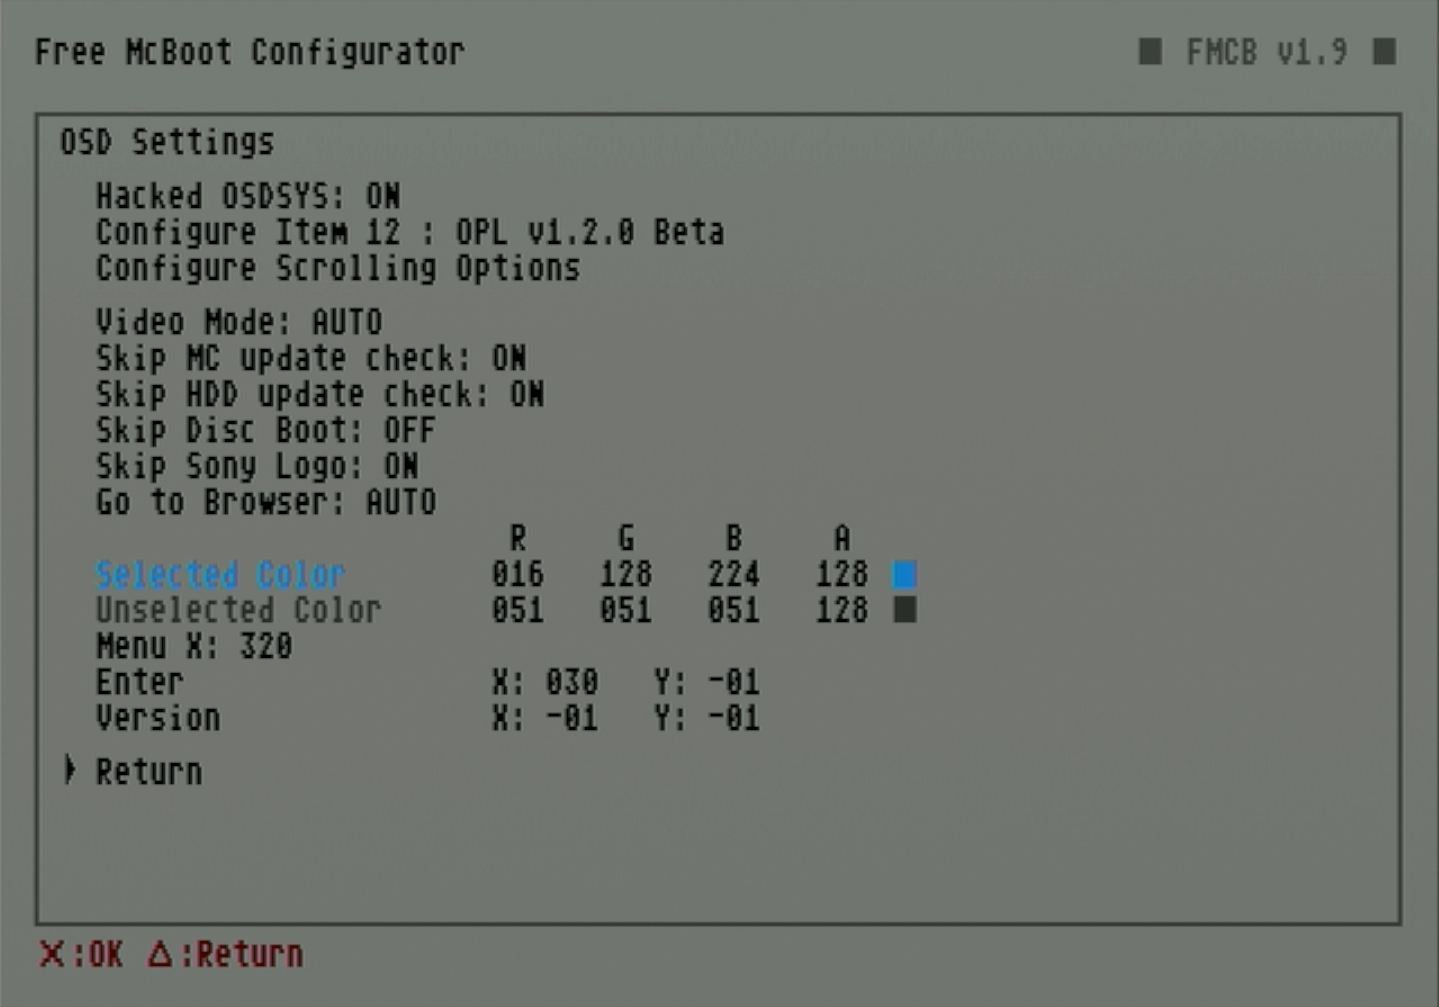
-
Finally, we will save the FMCB config file with our new menu changes. Select
Save CNF to MC0for a FMCB card in the first slot andMC1for the second.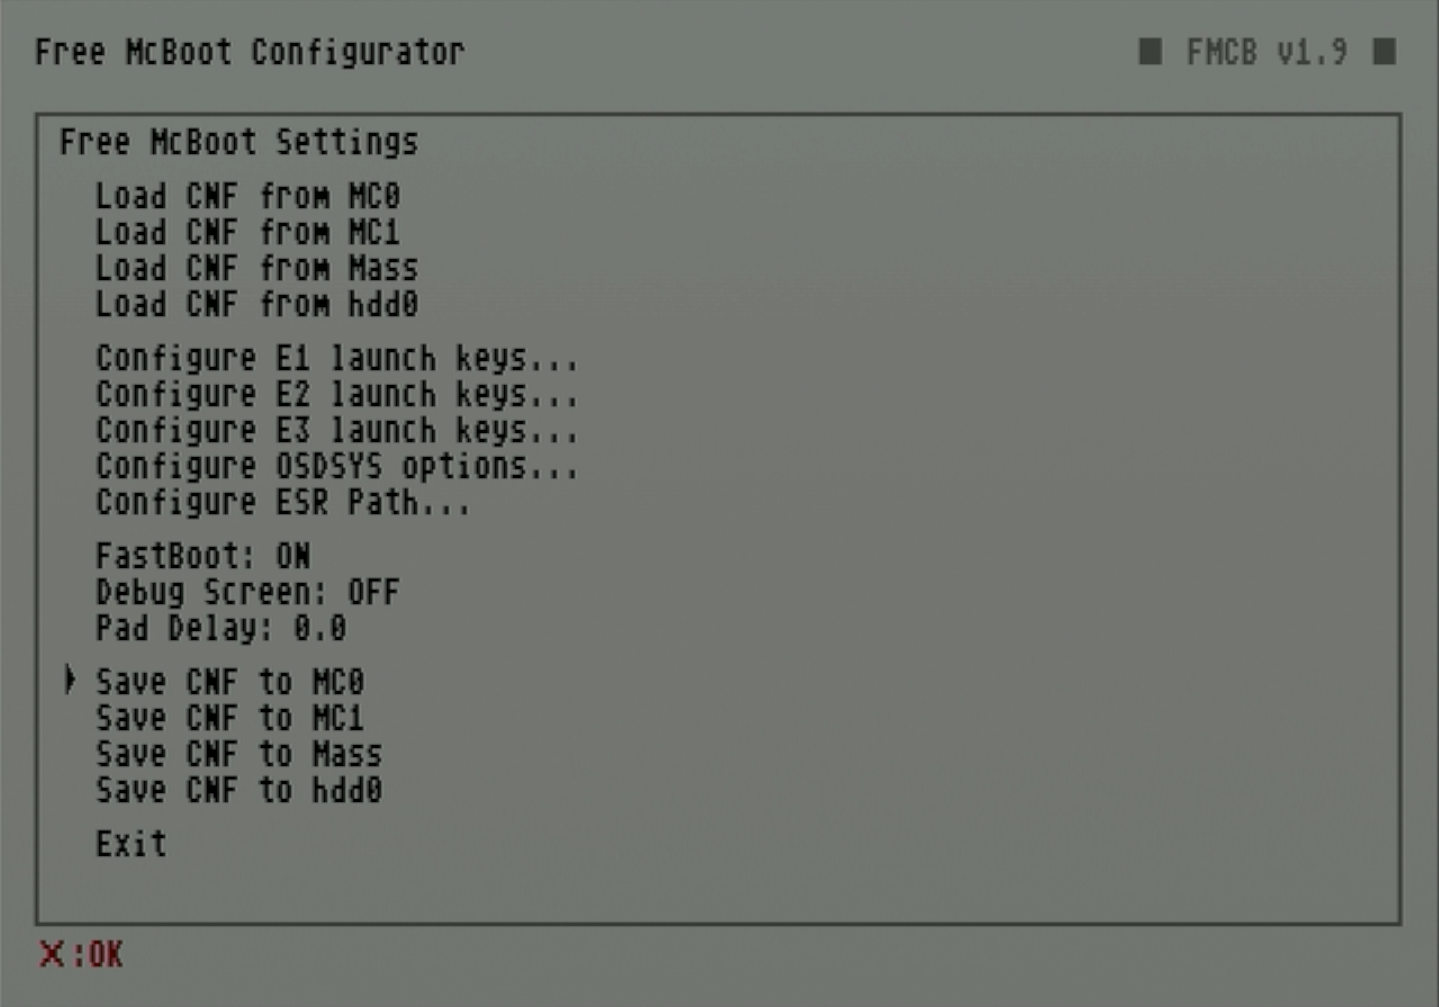
-
It will display
Saved [config file path]when finished. Back out to the home menu by scrolling down and selectingExit(then backing out of the memory card view by pressing circle) or restarting your PS2.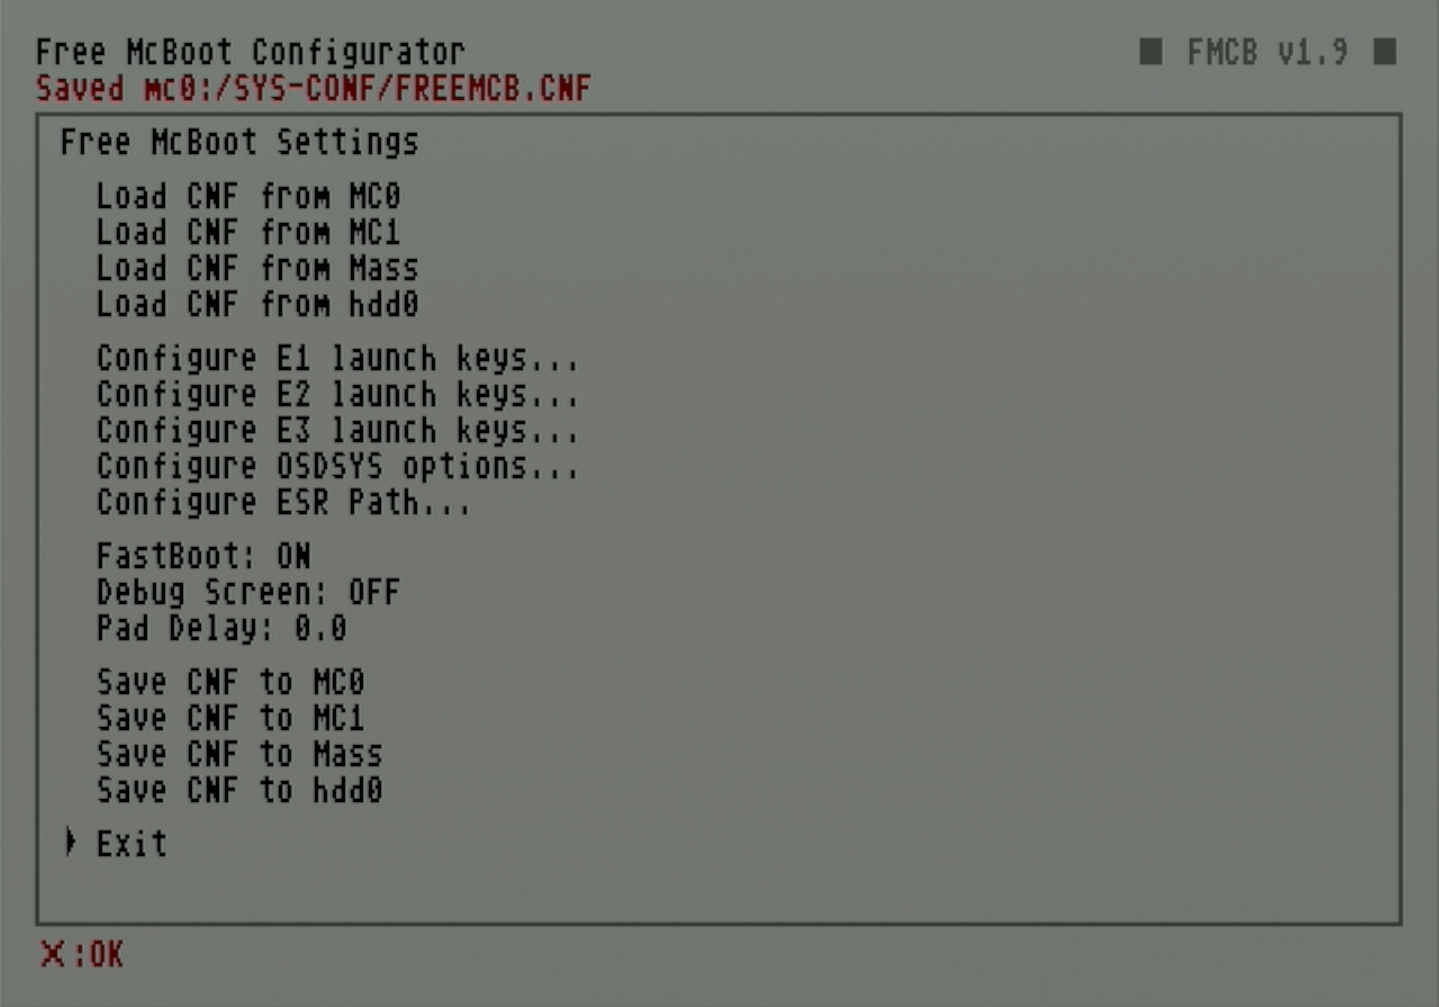
-
OPL will now be installed on your FMCB card and accessible from your home menu.
Once OPL is installed, you can continue to loading game backups onto your formatted hard drive.
If your drive is formatted:
Next: Install game backups to hard drive
If your drive has yet to be formatted: